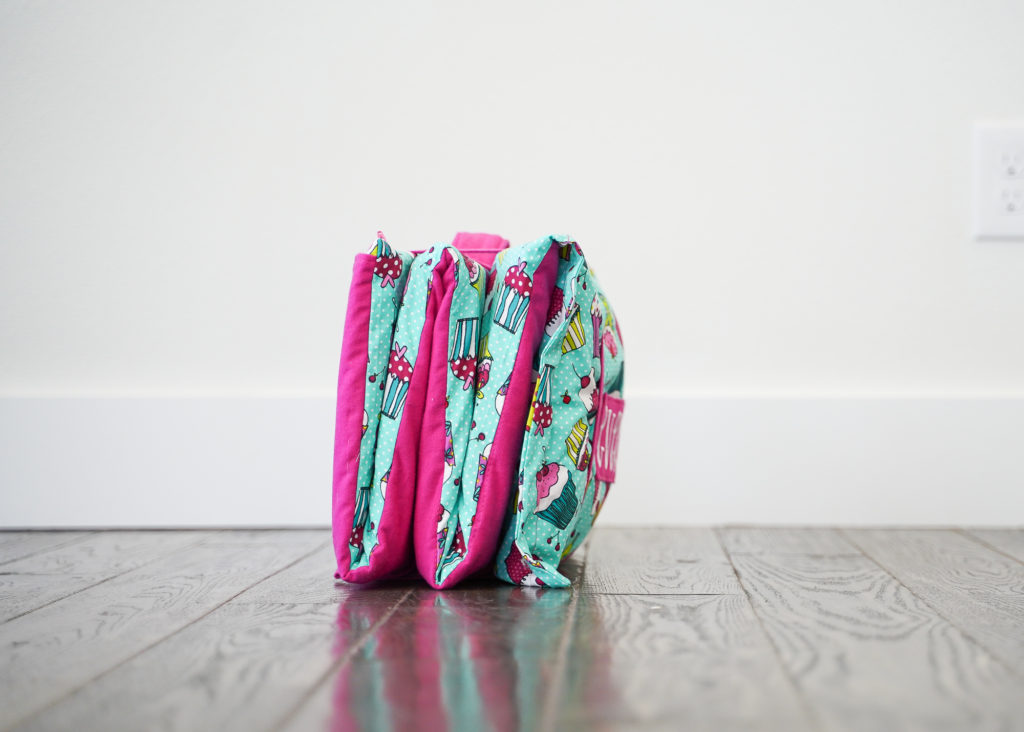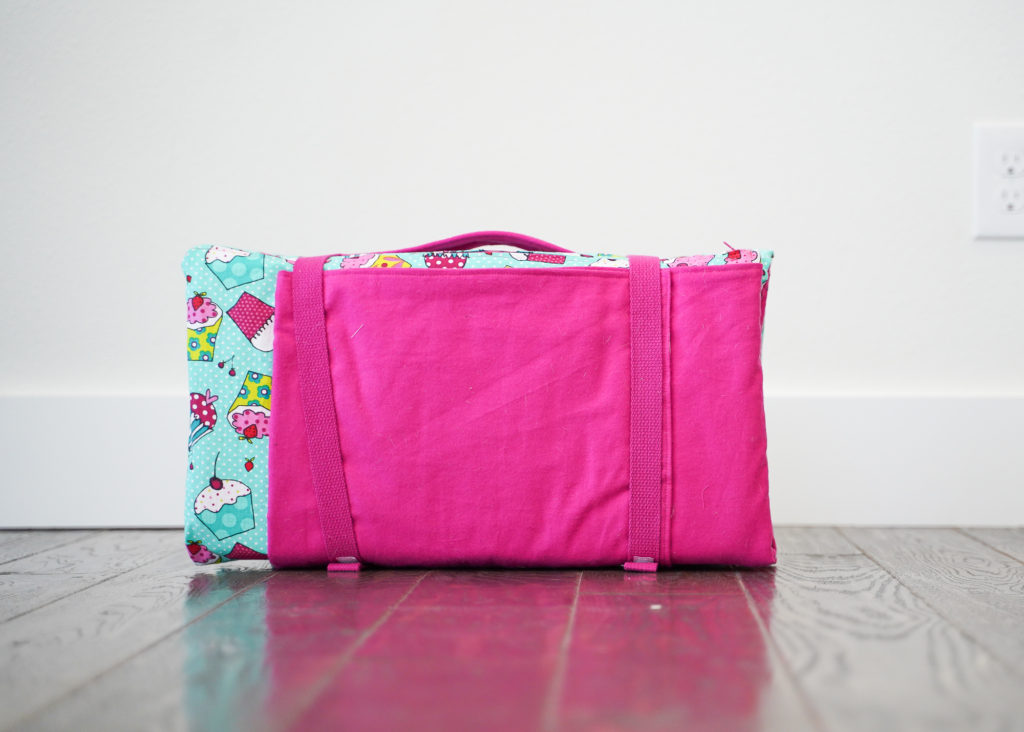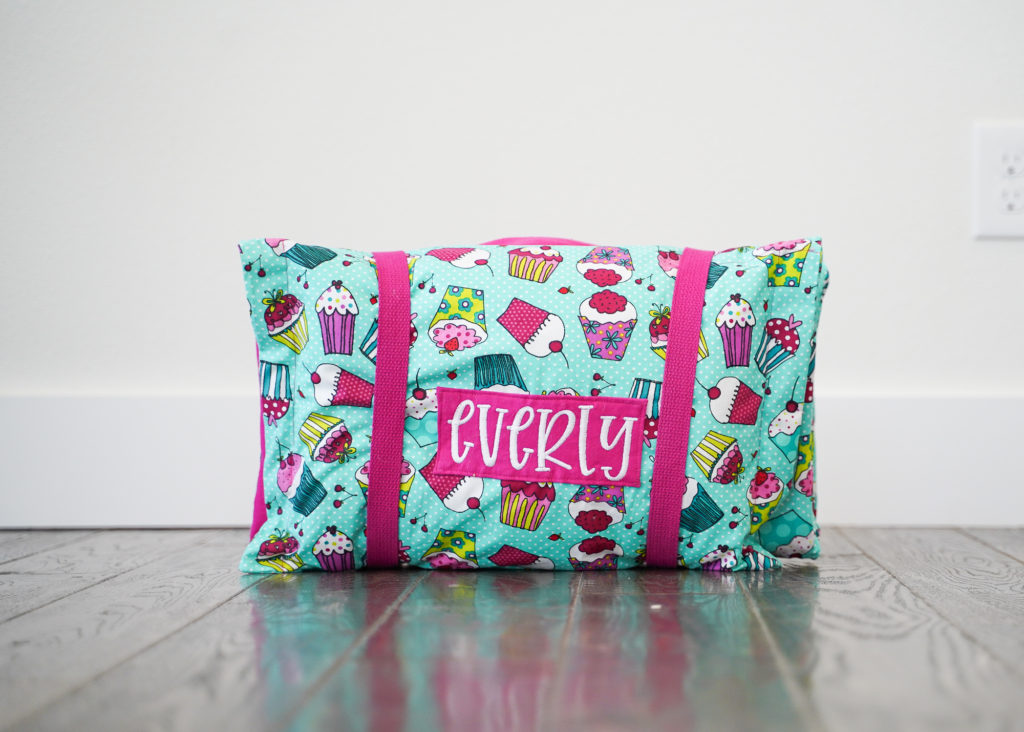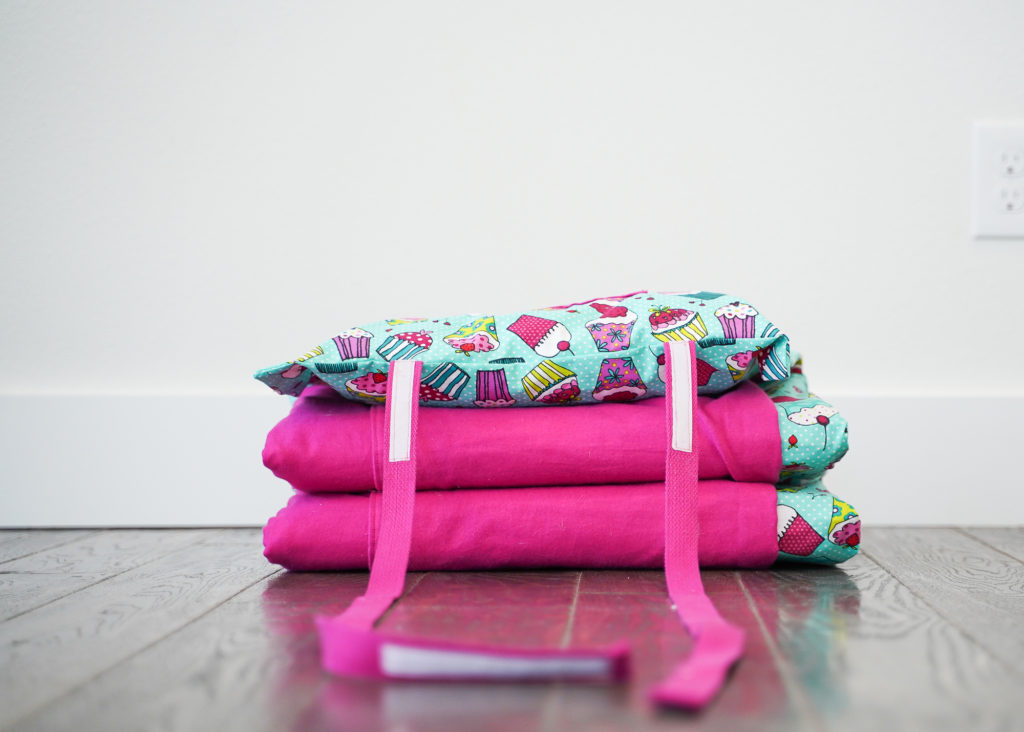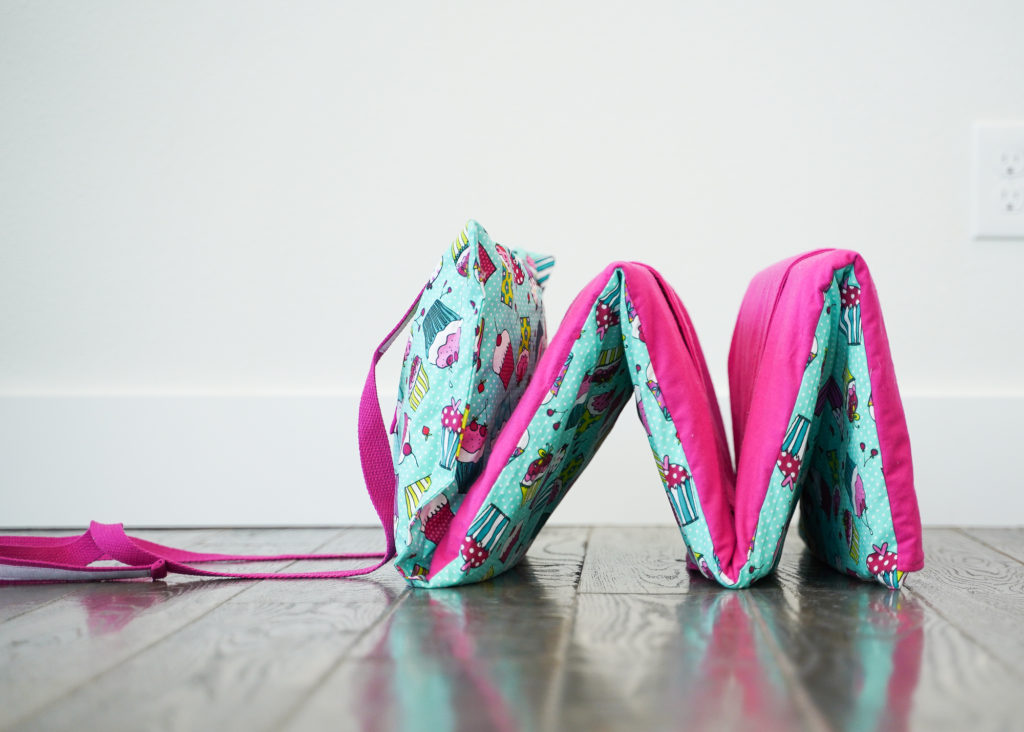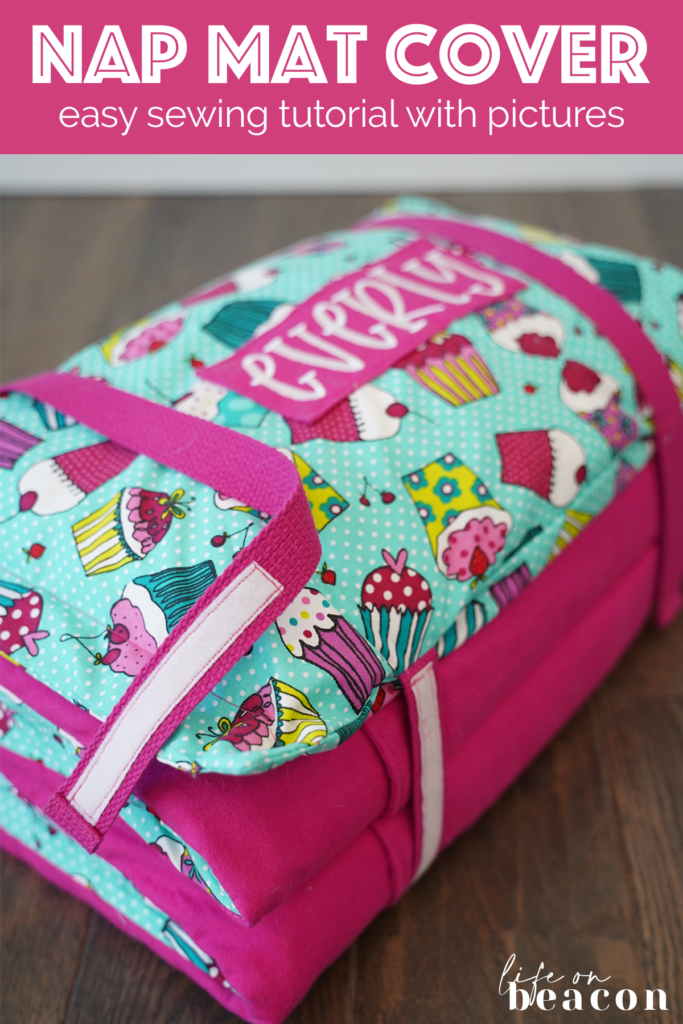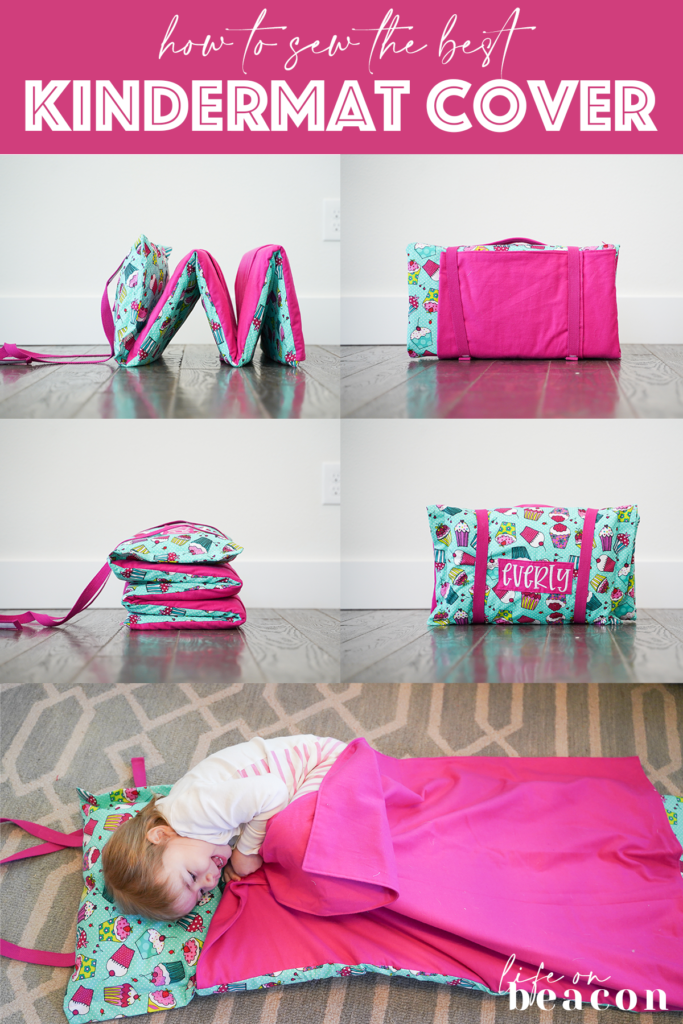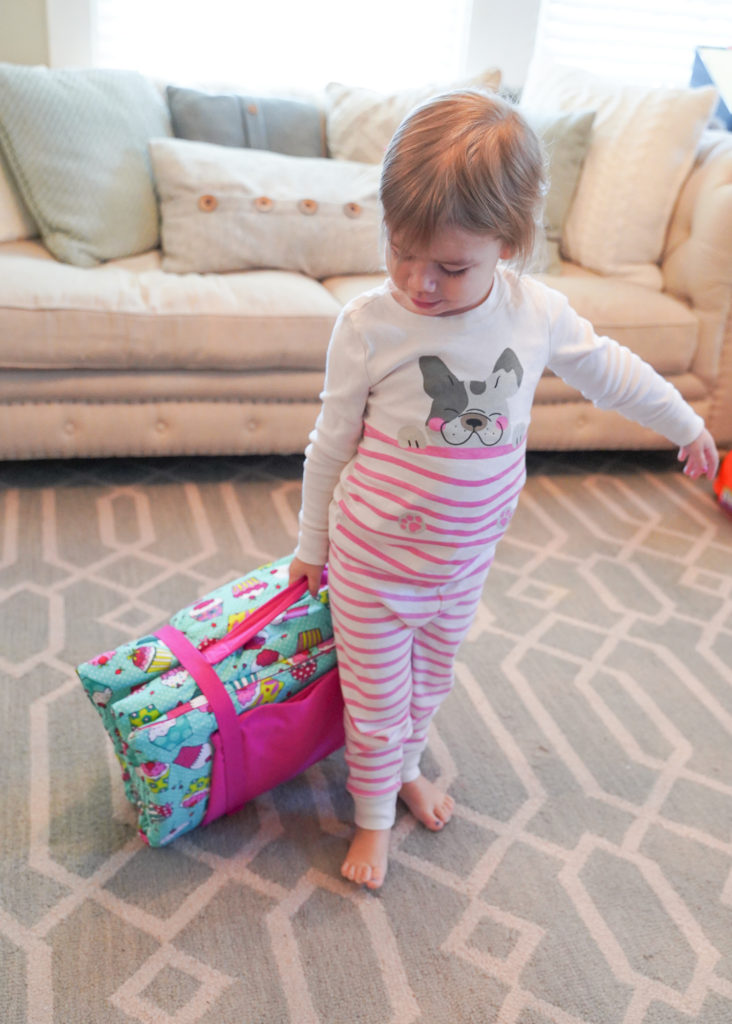
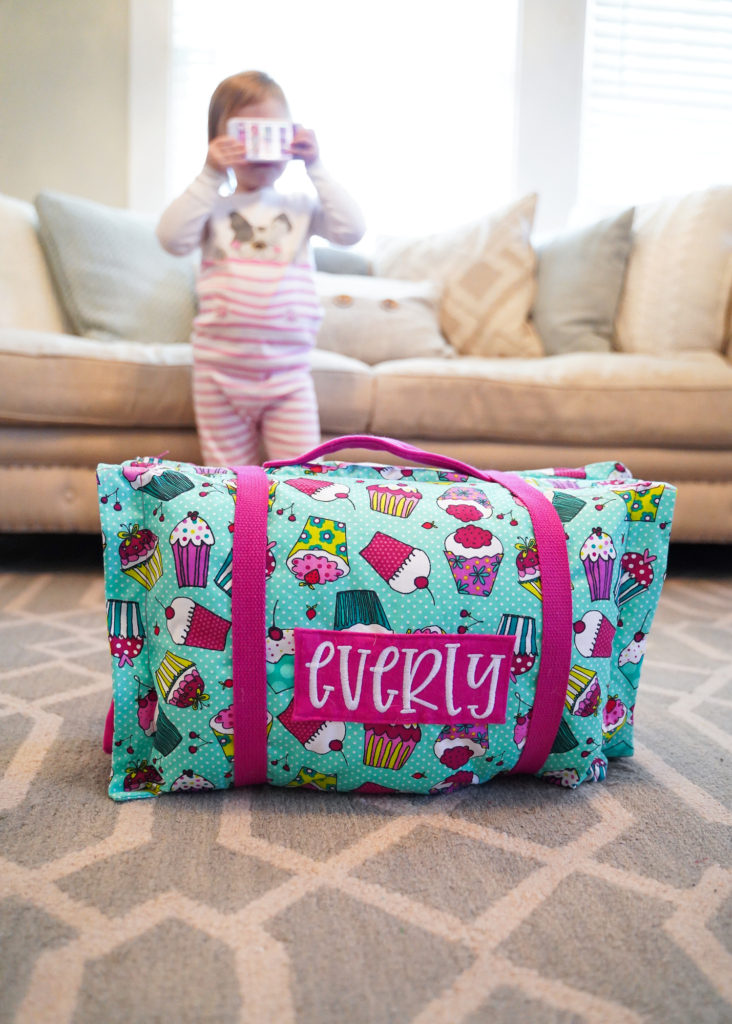
E started a new preschool today and we couldn’t be more excited. The cover on her nap mat from daycare was looking a little worn, so we decided starting a new school was the perfect opportunity to make a new-and-improved DIY nap mat cover.
If you’re not familiar with a nap mats, many daycares and preschools ask parents to provide one for their kids that they can take home and wash at the end of each week. They come in two different material types – rolled upholstery foam or a Kindermat, which is a four-fold mat made specifically for toddler nap time.
Our cover includes a sleeve for a pillow, attached blanket, velcro straps, and zipper closure.
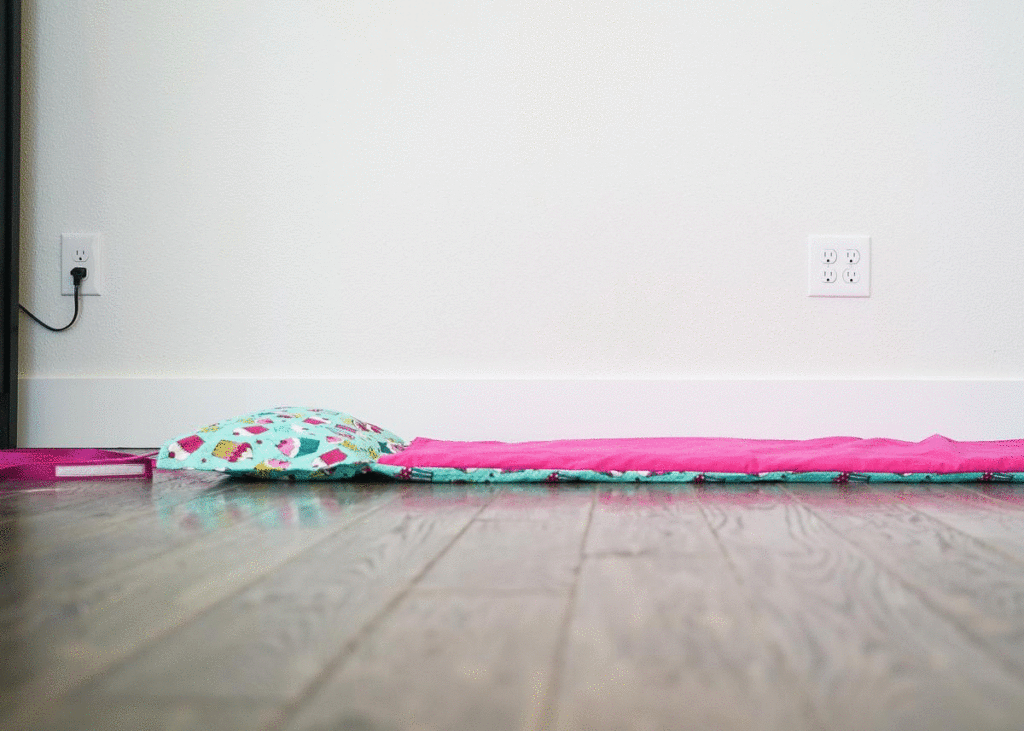
Kindermat or Rolled Foam?
I prefer the Kindermat because it’s easier to clean. Just slide the mat out of the cover and toss it in the washer, then wipe down the mat itself if needed (the mat itself is in a waterproof vinyl case). Foam, by contrast, will absorb anything that gets on it and can degrade in the wash, if it can be washed at all. With a potty training toddler, that’s a big no-no!
Supplies
- Kindermat
- Toddler pillow
- 2.5 yards of fabric A (attached blanket)
- 2 yards of fabric B (nap mat cover)
- 10″ x 2″ fusible flannel interfacing
- 18-20″ zipper in a corresponding color
- Thread in a corresponding color
- 2.25 yards 1″ wide trim, the sturdier, the better
- 12″ sew-on velcro
- Sewing machine and pins or clips
Choosing Your Fabric
Nap mat covers can be made of a variety of materials, depending on the look you’re going for and what you want to pay. Flannel is a great choice for both fabrics and can usually be purchased on sale for less than $5 a yard at a local Joann or Hobby Lobby. All my daughter wanted was fabric with cupcakes for hers, so we used a cupcake quilting cotton to cover the mat itself (Fabric B) and used a solid pink flannel for the blanket (Fabric A). Tip: Quilting cotton is slightly easier to work for the main cover because it irons better than flannel and is easier to sew the zipper onto. It will also be easier to use if it doesn’t have a clear “right side up” – in our case, the cupcakes were all laid out in different directions.
If you want a super lux nap mat, pick a Minky fabric as Fabric A, your blanket. I used Minky on a previous nap mat cover and loved it, but decided against it here because it can be tricky to sew with and costs $10-20/yard.
Avoid stretch fabrics like jersey, even though they’re incredibly soft. I made this mistake on the first cover I made and it didn’t hold up well to washings. Over time, it started to look loose and misshapen.
Instructions
Sew the blanket
Cut Fabric A into two rectangles each measuring 44″ x 31″. When sewn, your blanket should measure approx. 43″ high x 30″ wide. The blanket is intentionally wider than the nap mat so the user can curl up inside of it when laying on the mat. The blanket will be folded in half before the nap mat is folded up.
You can use the width of the fabric, however your blanket will be a bit shorter than ours, which is fine. We’ll cover how to accommodate the 1-2″ difference in length during assembly.
Align the two pieces of Fabric A with right sides together. Stitch around the top, bottom, and one side with a 1/4″ seam allowance, leaving one side unsewn. Turn blanket out, so right sides are facing out. Add a top stitch to the three stitched sides to give your blanket extra structure. Run a basting stitch with a 1/4″ seam allowance on the open side. Set the blanket aside.
Create your handle
Cut two pieces of excess Fabric A, 10″ x 2.5″. Use an iron to fuse interfacing to the wrong side of one piece. With right sides together and the interfacing outside, sew around the two pieces of fabric, leaving a 3-4″ gap to turn the fabric out. Turn rightside out and iron. Add a topstitch approx. 1/4″ from the edge, which can also be used to seal the open space used to turn out the fabric. Set aside.
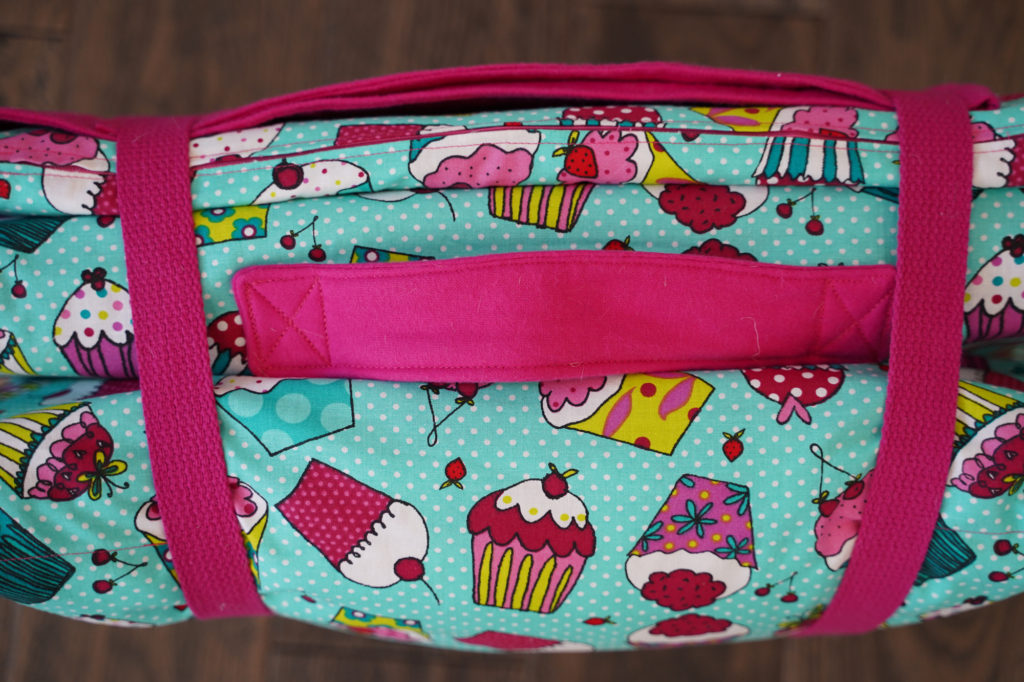
Create your embroidery patch
If you’d like to add an embroidery patch, you would create that now. We used a scrap piece of Fabric A measuring approximately 3″ x 7″. I embroidered the name in the center using this font in the 2.25″ size. I then turned the edges under and used glue-basting to hold in place until I was ready to sew.
Prepare the main cover
Cut Fabric B into two rectangles, each measuring 21″ wide by 60″ long. The completed cover will be 20″ wide by 57″ long. We intentionally cut some extra length because sewing the zipper on requires more space than a traditional 1/4″ seam allowance. It’s always easier to trim later than to cut too short!
With right sides together, run a basting stitch along the bottom (short end) of the two pieces. Attach your zipper, using your preferred method (we like this tutorial).
Sew on the handle and embroidery patch (optional)
The handles and embroidery patch are easier to sew on before the mat cover is assembled. Both are applied to the same side of the nap mat. The center of the handle should be placed 23″ from the center of the zipper, measuring from the bottom. The center of the embroidery patch should be 51″ from the zipper, with the bottom of the name closest to the unsewn top of the cover. Both will be on the side of the nap mat that lays on the floor, when unfolded.
Prepare the straps
Cut two pieces of trim 38″ long each. Fold one end under, then under again, concealing the raw edge. Stitch in place. Sew one side of the velcro starting at the concealed raw edge. Sew the other 1.25″ from the other end. Set aside. Repeat for both piece of trim.
Assemble and sew the nap mat cover
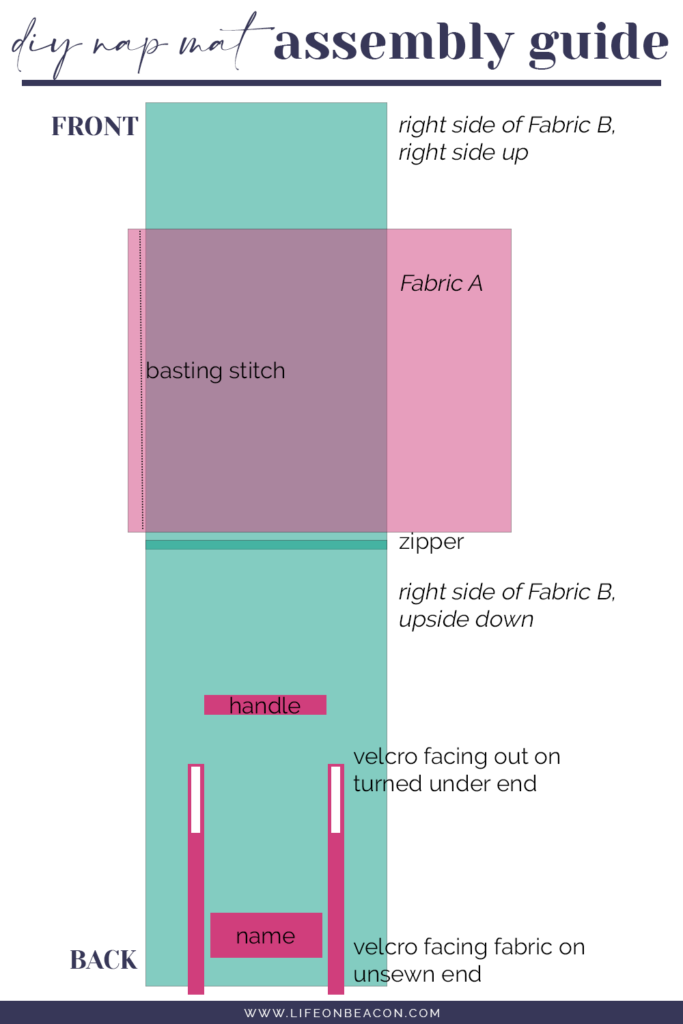
Time to put it all together! Lay Fabric B on the ground opened up (zipper in the middle), with the right sides of the fabric facing up. The handle should be in the section at the bottom, with the print upside down. Unzip the zipper at least 4″.
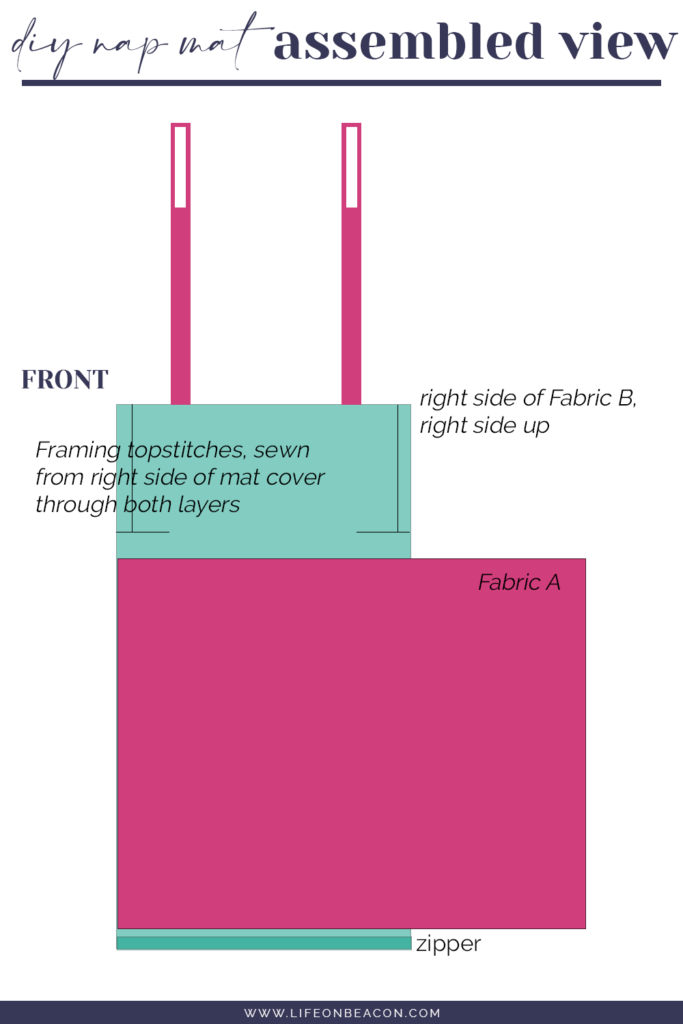
Lay the items out as pictured below and pin in place. The blanket should be alinged within 1/2″ of the zipper, however if your blanket is less than 44″ long, shift the blanket up 1-2″ from the zipper.
Fold the bottom up to cover the top (the nap mat cover will be inside out). Tuck the long edge of the blanket inside, so only the side with the basting stitch is visible. You should now see only the wrong sides of the nap mat cover, the unsewn edge of the blanket, and a 1″ tail of the straps. Sew around the remaining 3 sides of the nap mat cover. Turn rightside out through the zipper.
With the cover turned right side out, starting 45″ from the center of the zipper, add a stitch extending 4″ from each side. This will be used to hold the pillow in place, while still enabling you to pull it out through the gap in the center.
Optional: If you want more structure on the pillow, which is narrower than the nap mat, add an additional topstitch with the cover turned right side out, extending from the top to the 45″ mark, 1″ from the edge. See diagram below.
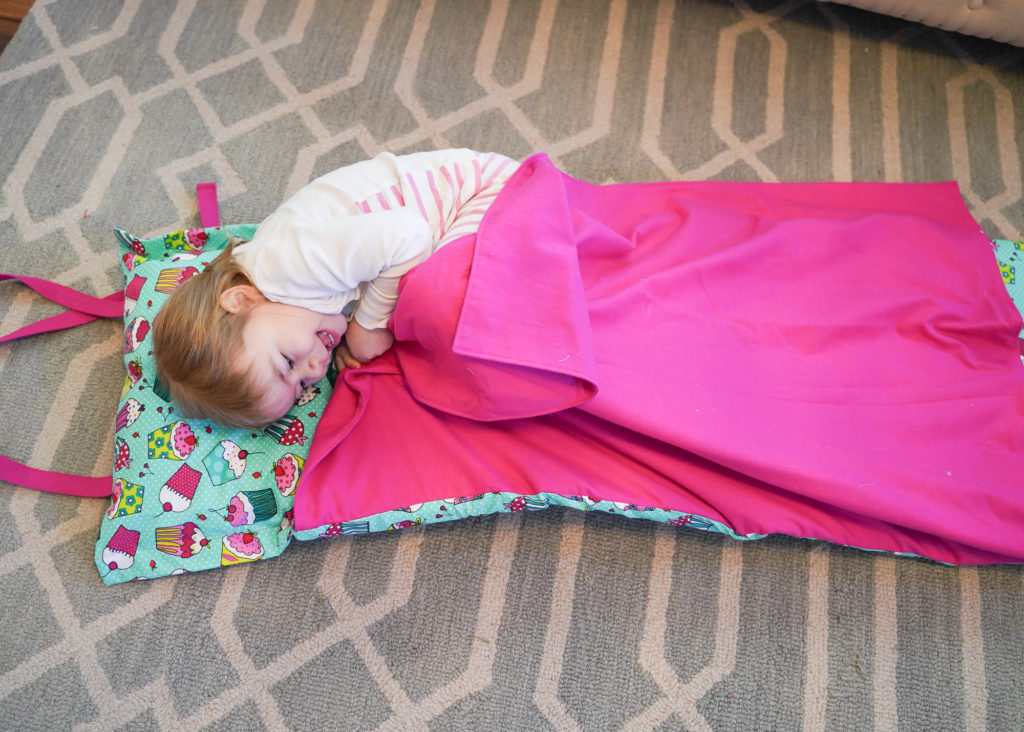
ADDING THE INNERS
Slide the pillow in from the zipper up to the top portion of the nap mat. Slide your Kindermat in underneath it, tag to the bottom, blue side facing down (against the side with the handles). Close the zipper. Fold accordion-style starting from the bottom. Wrap the straps around and secure with the velcro.
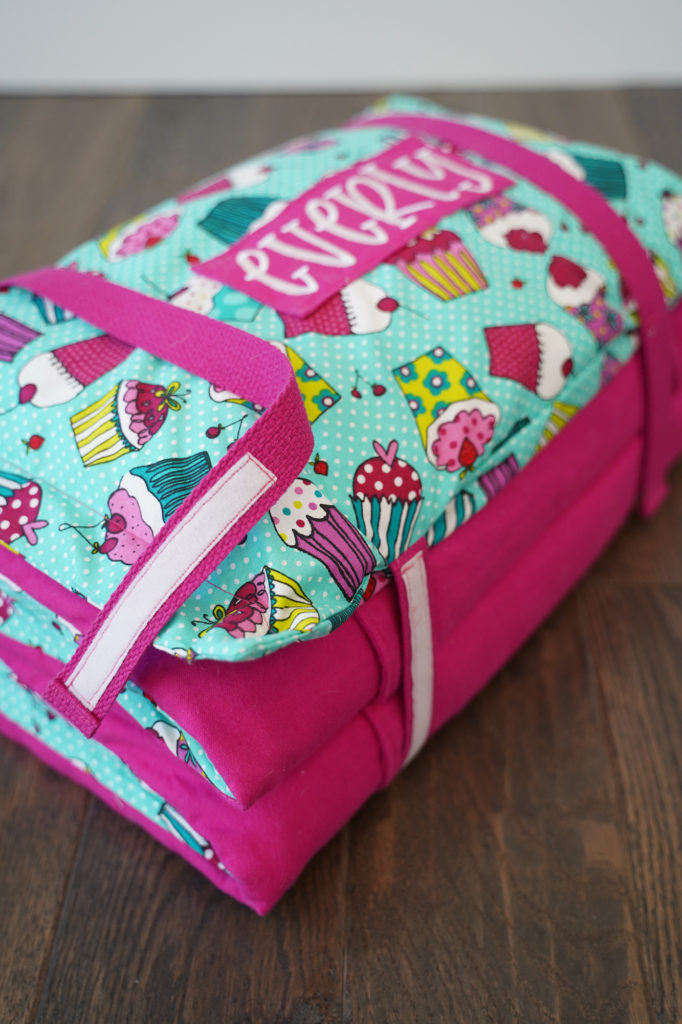
And voila! A fitted nap mat cover with attached blanket that you can easily take apart to wash at the end of the week!
Have you made your nap mat cover? Tag me on Instagram (@ashley.hetrick) – I’d love to see it!
PIN THIS
