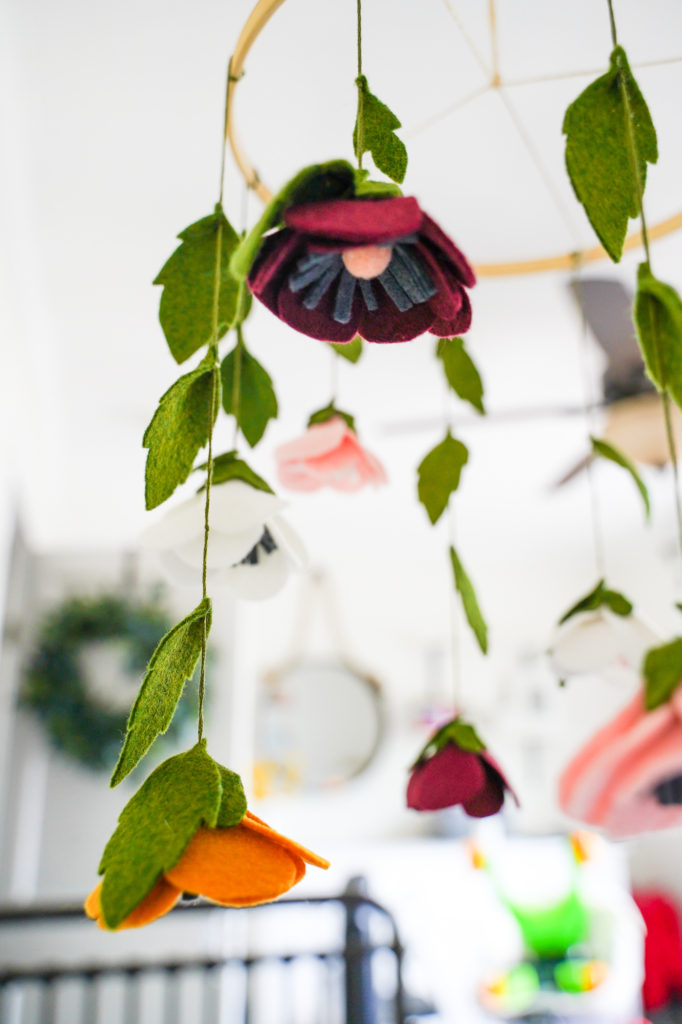
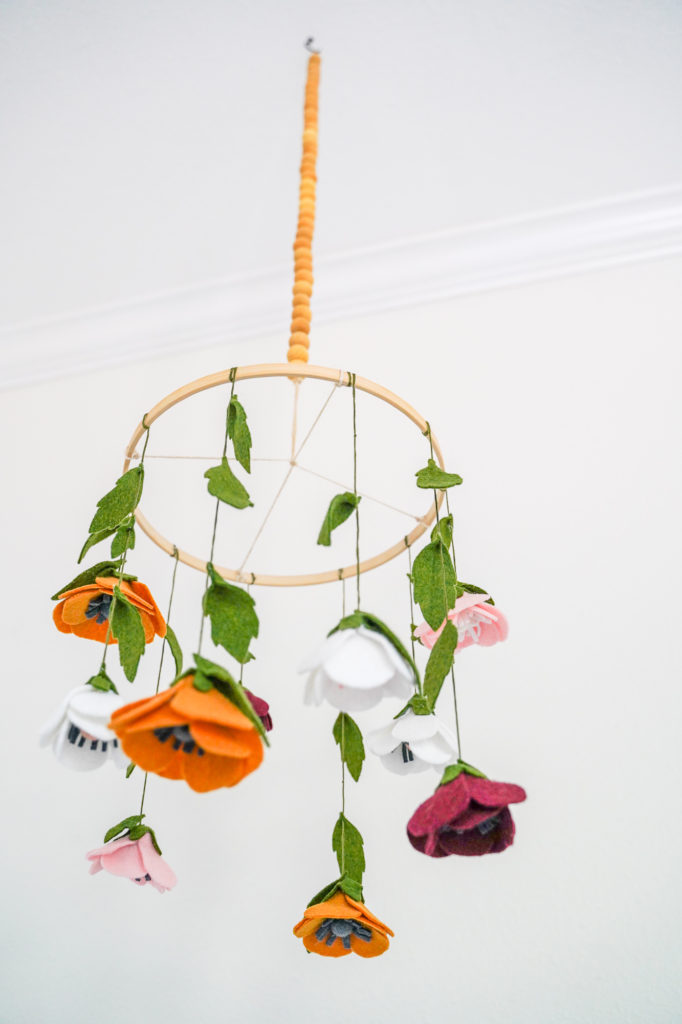
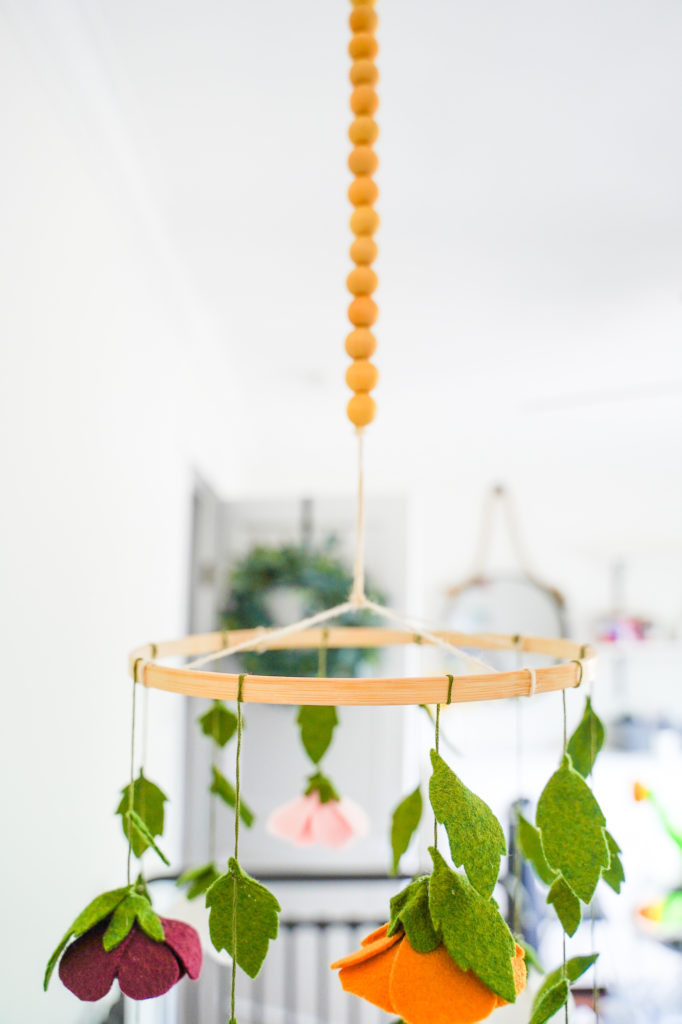
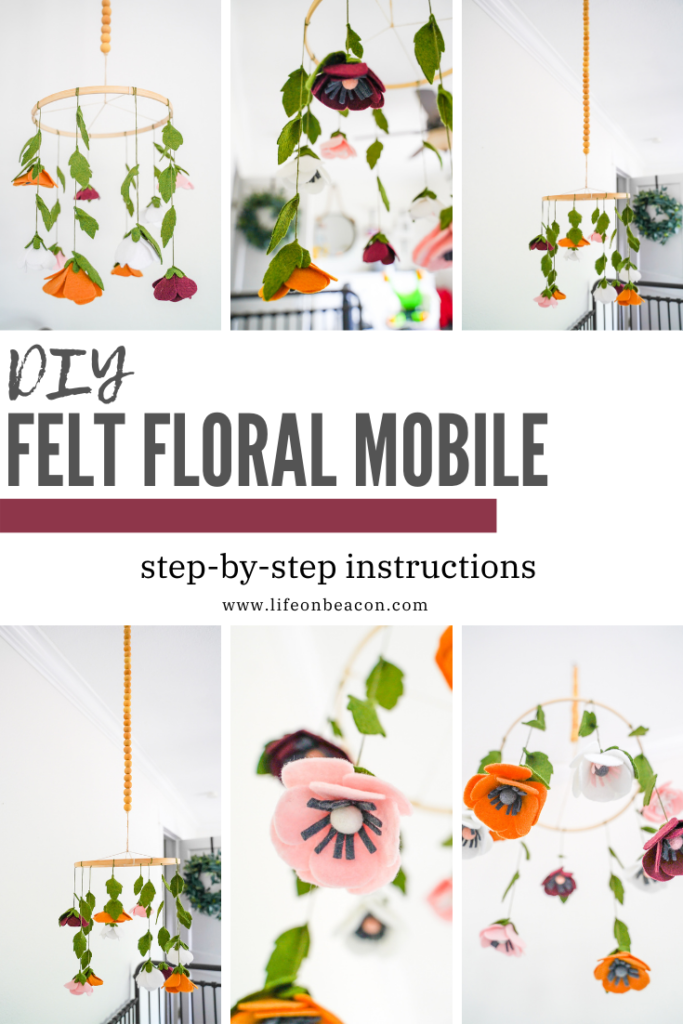
I’ve been brainstorming affordable ways to spruce up our existing nursery and make it feel “new and different” for Baby #2, while leveraging the big purchases we already have (crib, rocking chair, rug) and not making large investments. Enter this beautiful felt flower mobile I whipped up in a few hours.
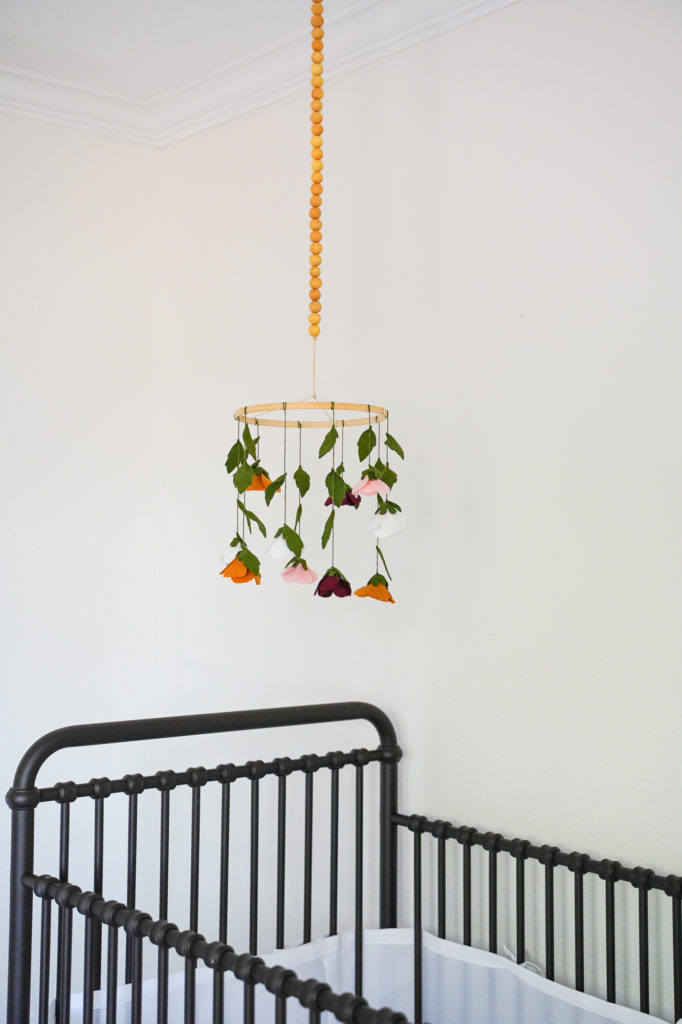
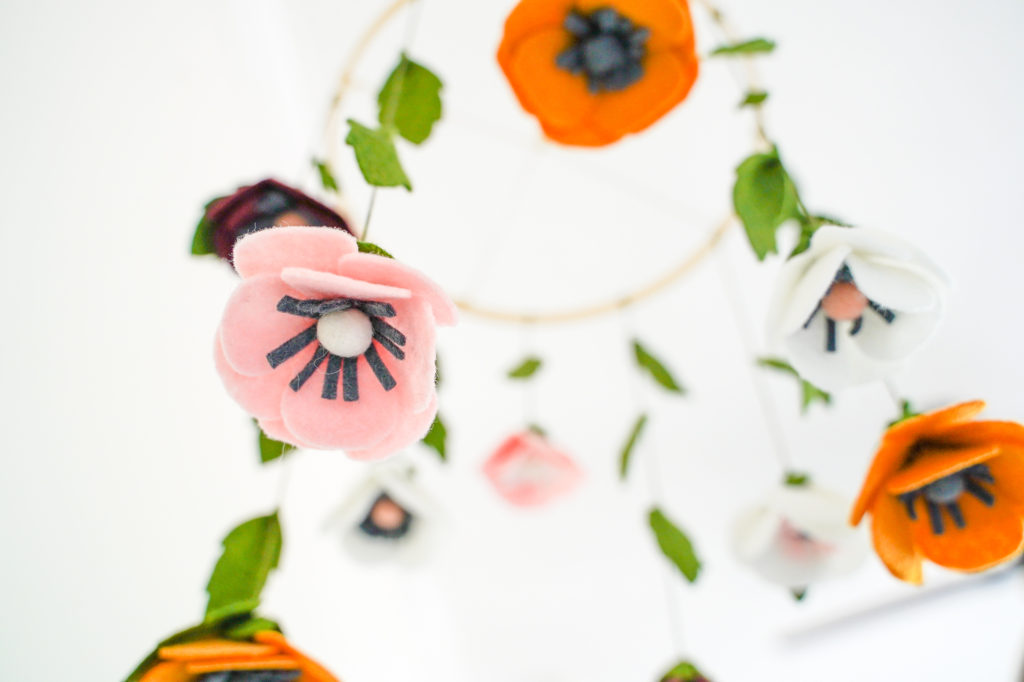
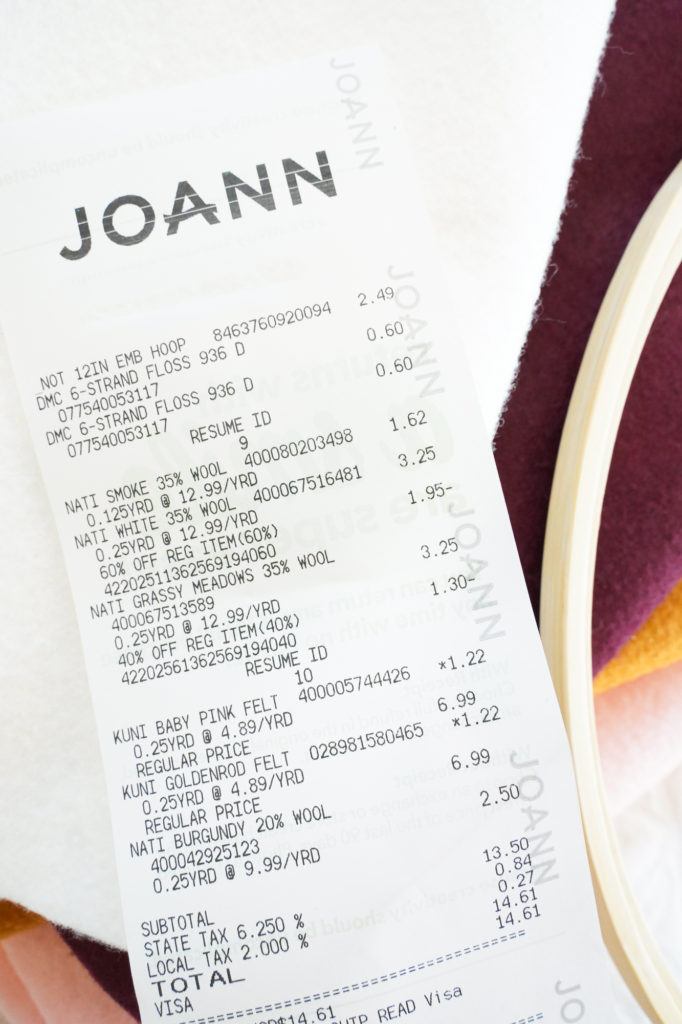
Total cost? $14.
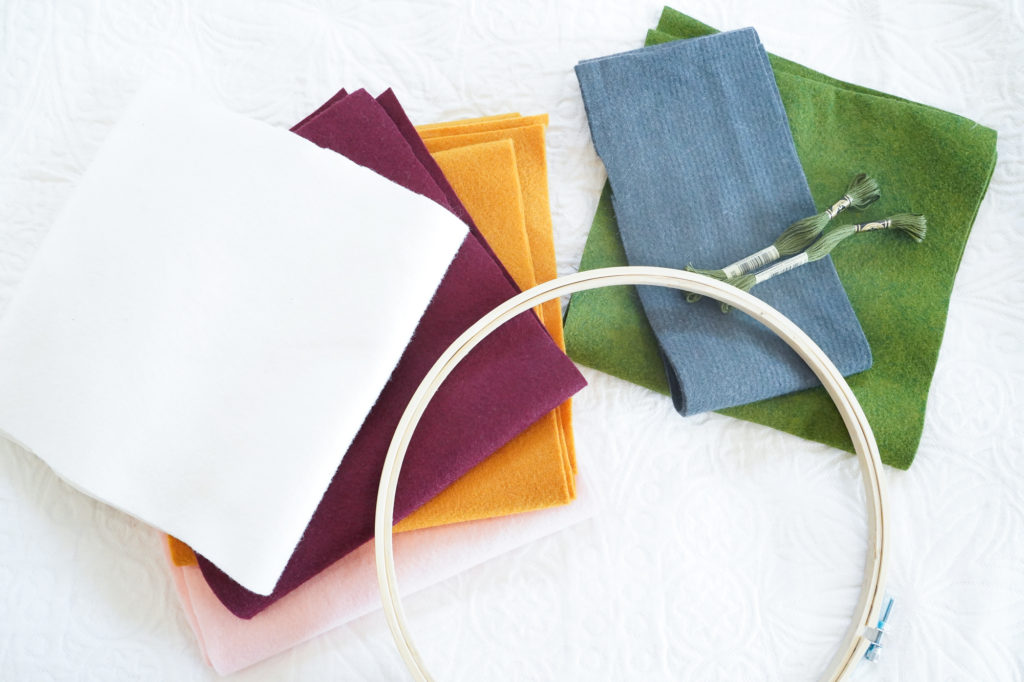
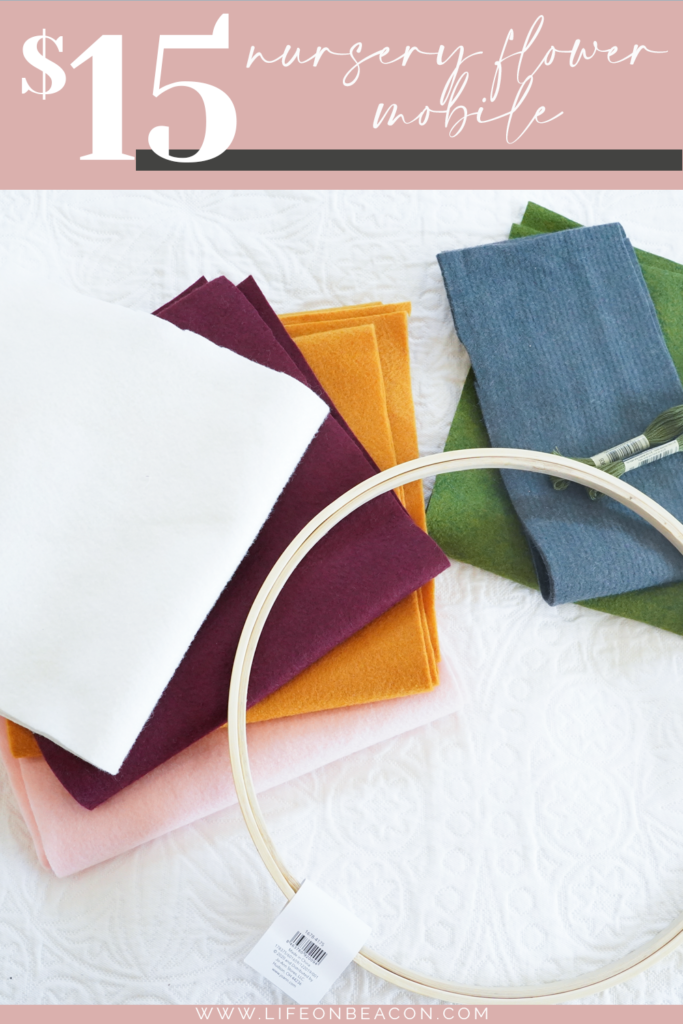
SUPPLIES
- 9″ wooden embroidery hoop
- Green embroidery floss
- Embroidery needle
- Hot glue gun with a low heat setting (I own and love this one)
- Felt in assorted colors (wool blend is best, but craft felt will work). I purchased 1/4 yard of each of the colors I wanted, and used less than 1/8 yard. For all colors, a 5×7″ rectangle would have been sufficient.
- 1cm felt wool balls (this pack is perfect!)
- Floral wire
- Sharp fabric scissors
- Small cup hook (for hanging)
- Optional: Jute twine
- Optional: Wood or wool beaded garland
Shop all of these items on our curated Amazon list.
Note: Buying from the links above will result in WAY more material than you need – save by picking up essentials like embroidery floss and the felt from a local craft store.
INSTRUCTIONS
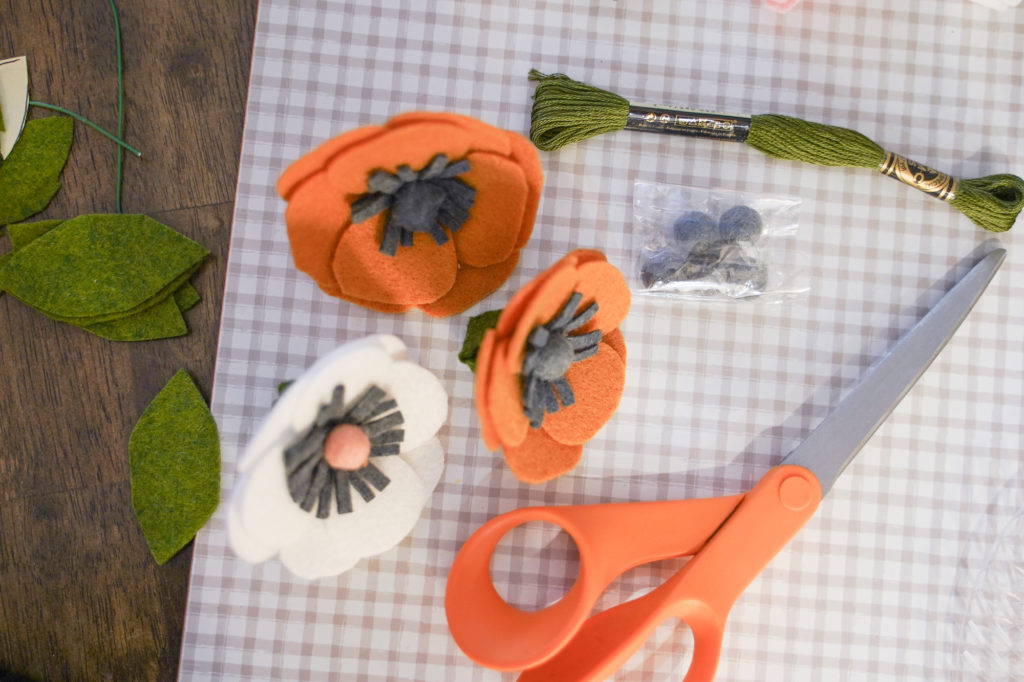
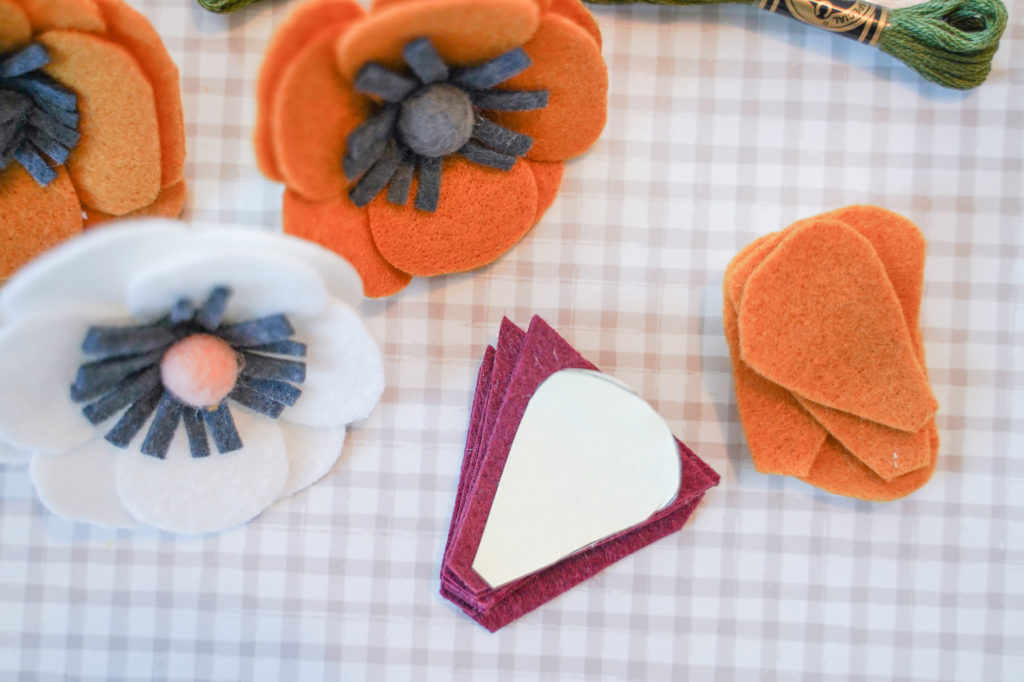
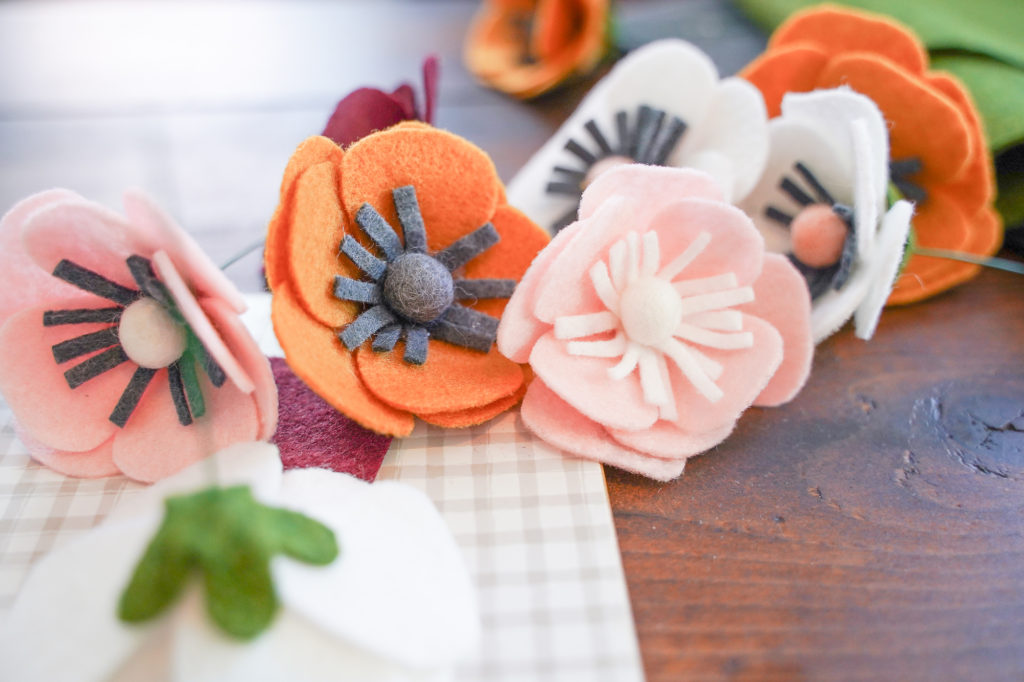
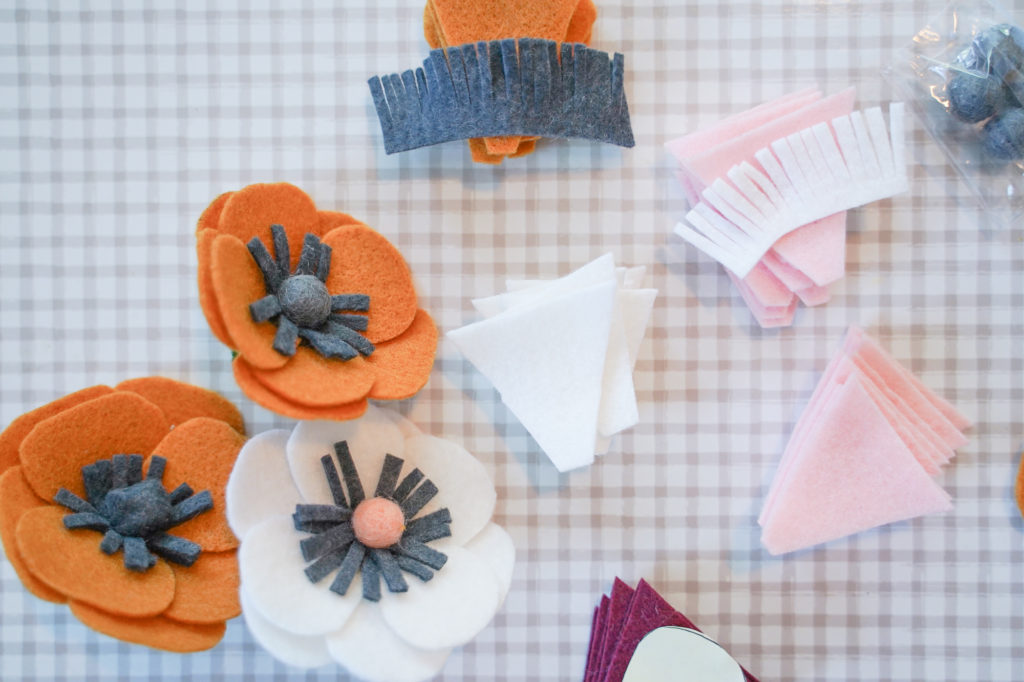
- Select your desired flower types. Pay careful attention to how the flowers will look when hanging upside down. Felt peonies and chrysanthemums, for example, look beautiful on a wreath or in a faux arrangement, but are bulky and unattractive upside down. I opted for anemones in different colors, using this tutorial here. I then clipped the wire close to the base when done, using it only for stability and to build around.
- Construct 8-10 flowers, pending size. Our felt flower mobile used 10 flowers that were approx. 3″ each.
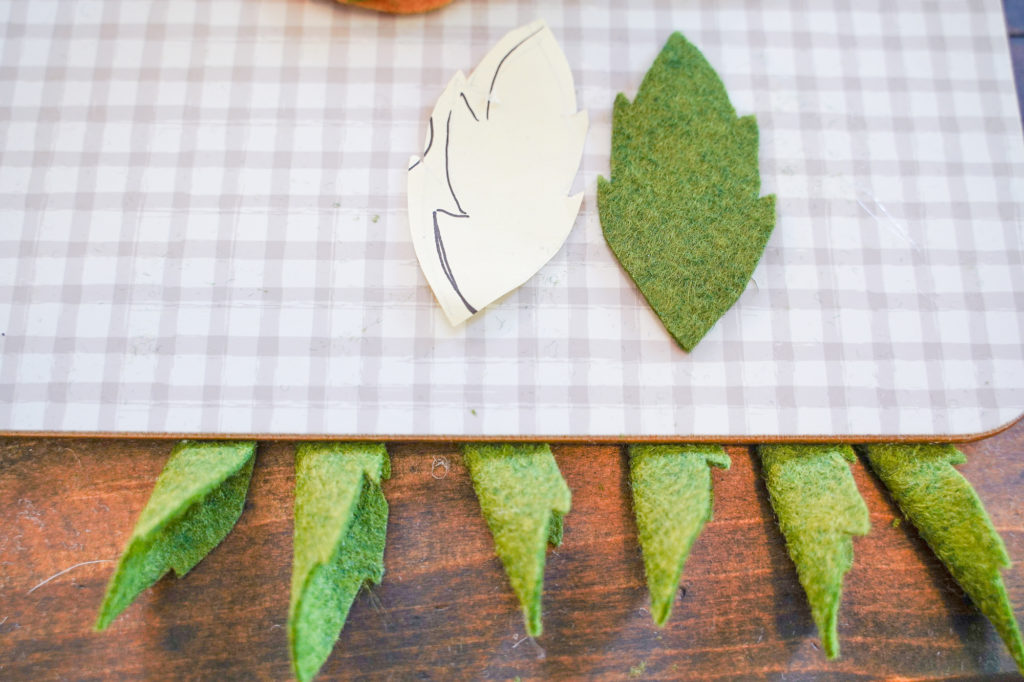
- Outline the leaf shape you’d like to use for your felt flower mobile. Note: If I were to do this again, I would make each leaf arched on the sides like this one, without the points – it would take a lot less time to build and would look just as nice!
- Cut 2-5 leaves to string with each flower. You can use more or less leaves based on the length each flower hangs and how dense you want the leaves.
- Place a small dot of hot glue at the base of each leaf and roll it in on itself, so the leaf has a center arch. Pin them down until the hot glue has dried (I just set mine under a hard placemat I was using as a work surface).
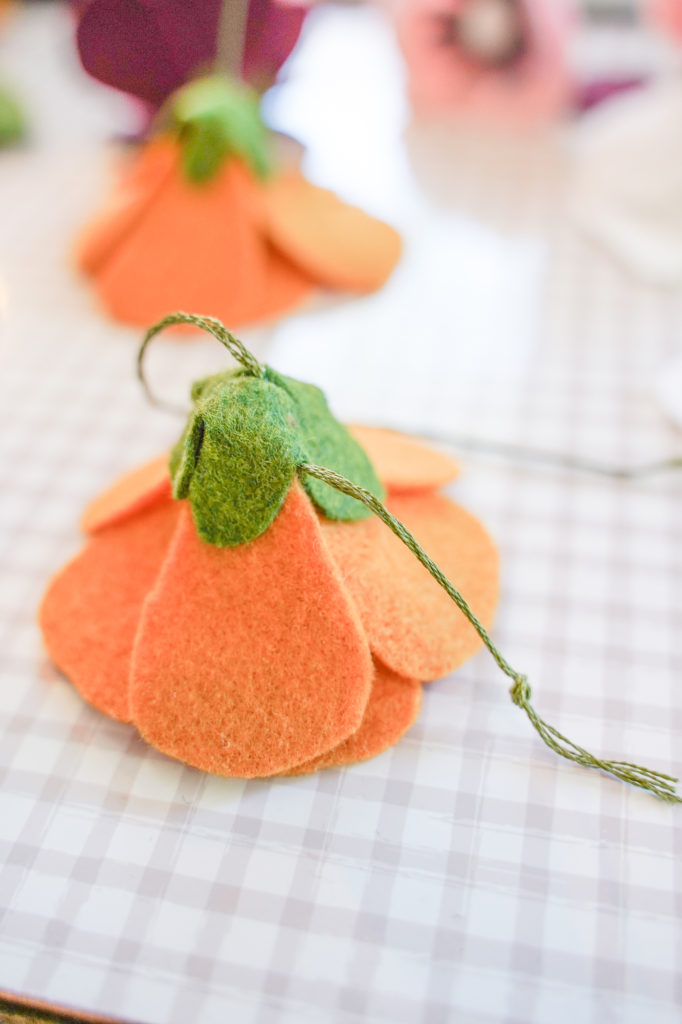
- Add a knot to one end of your embroidery floss and using the needle, carefully thread under the wool ball of your flower and out through the base.
- Add a single leaf against the base of the flower.
- Lay out what order around the hoop you would like your flowers. This will help you plan the varying lengths each flower will hang and ensure you don’t end up with too many long flowers or too many of one color in the same space.
- Determine your desired string length and add additional leaves along that length, placing a small knot in the thread under each leaf to keep it in place. My longest thread is 16″, while the shortest is just 4″. I placed leaves approx. every 2″ along the thread, with larger gaps for the longer threads.
- Remove the outer hoop from your embroidery hoop and discard, keeping only the solid inner hoop.
- Spread your threads with flowers evenly around the hoop and tie in place. Secure knots with a small dab of hot glue before trimming (this will both keep the threads knotted and keep them in place around the hoop).
- Tie jute rope or additional embroidery thread in an X across the top of the hoop. Secure knots with hot glue.
- Attach whatever material you’re choosing to hang from the ceiling with to the center of the X. I opted for this gorgeous mild mustard yellow beaded garland I found on fall clearance at a local craft store, but ribbon, fishing line, or even more embroidery thread would work as well!
- Loop over a cup hook screwed into the ceiling. Make sure all knots are secure and that the entire mobile is higher than the baby can reach.
Don’t have time to DIY? Shop our favorites from Etsy below.
Want more nursery inspiration?
You can check out our baby archives to see some of our favorite nursery and baby posts including:
- DIY Baby Burp Cloths
- Evie’s Neutral Nursery
- Look for Less: Nursery Cribs
- Headband Storage for a Baby Girl
PIN THIS
