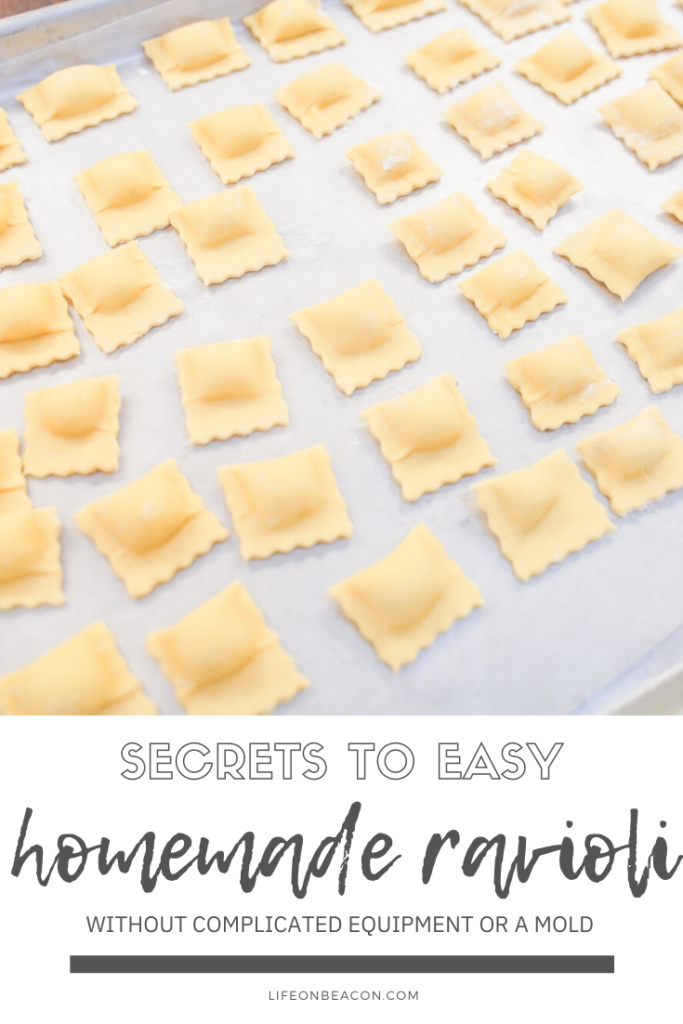
Yay for quarantine forcing me to finally get to all of those things I wanted to tackle “someday”. This weekend’s activity: mastering homemade ravioli.
I, like many people, have a deep love of pasta – particularly ravioli. I went through a phase in my teens where one of the only foods I would eat is ravioli. Thankfully, my palate has matured since then, however my love of the filled pasta has not gone away. I always assumed it was a little too much work to take on at home.
Wrong.
For Christmas, my husband and I purchased a Masterclass subscription – long before we knew we’d be spending months at home looking for new projects to take on. Thomas Keller has 60+ classes on the platform. In one, he shares his secrets to the ravioli variation he makes in his restaurants, Agnolotti.
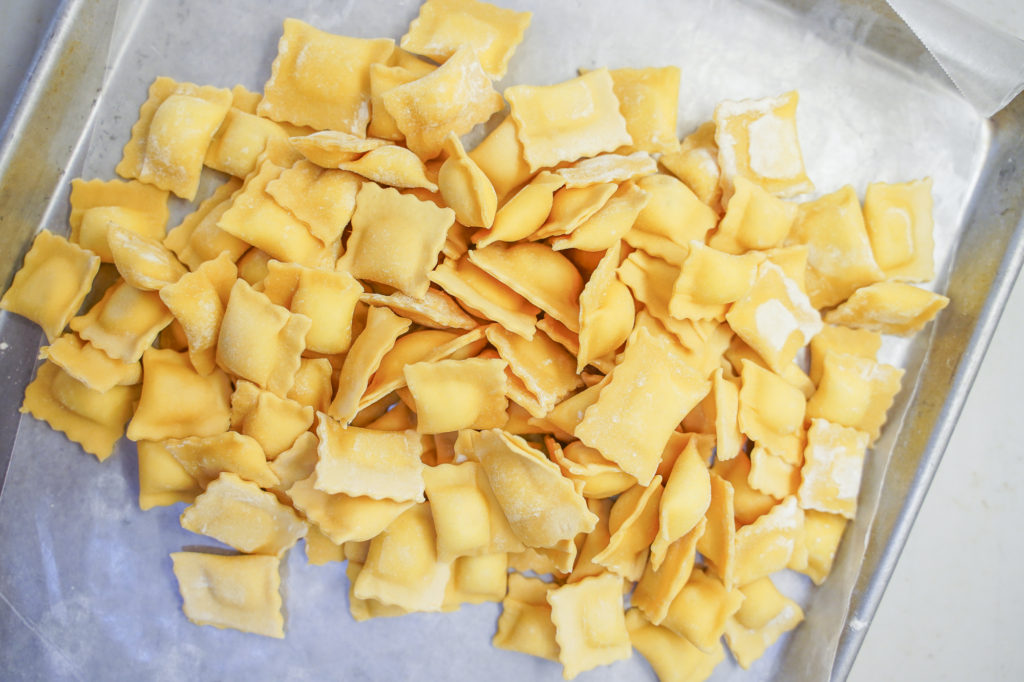
Our first attempt turned out nearly 4 dozen delicate, beautiful filled homemade raviolis from fresh pasta dough that held their shape while boiling – all produced in less than 90 minutes from start-to-finish (including making the filling). I immediately cancelled my pending Amazon order for a ravioli mold. I’m never going back.
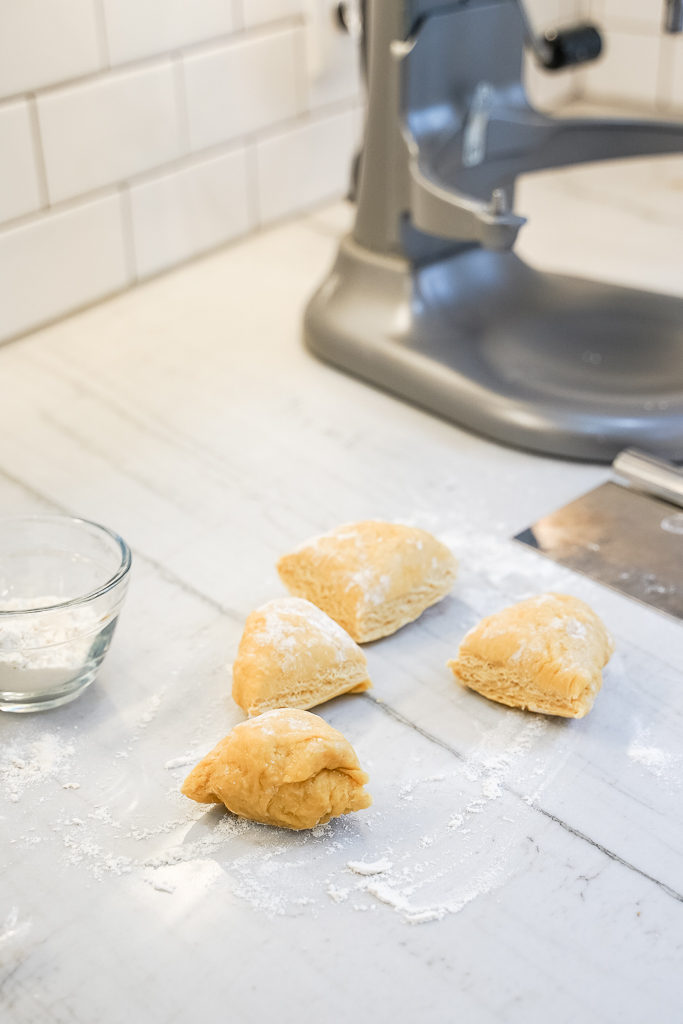
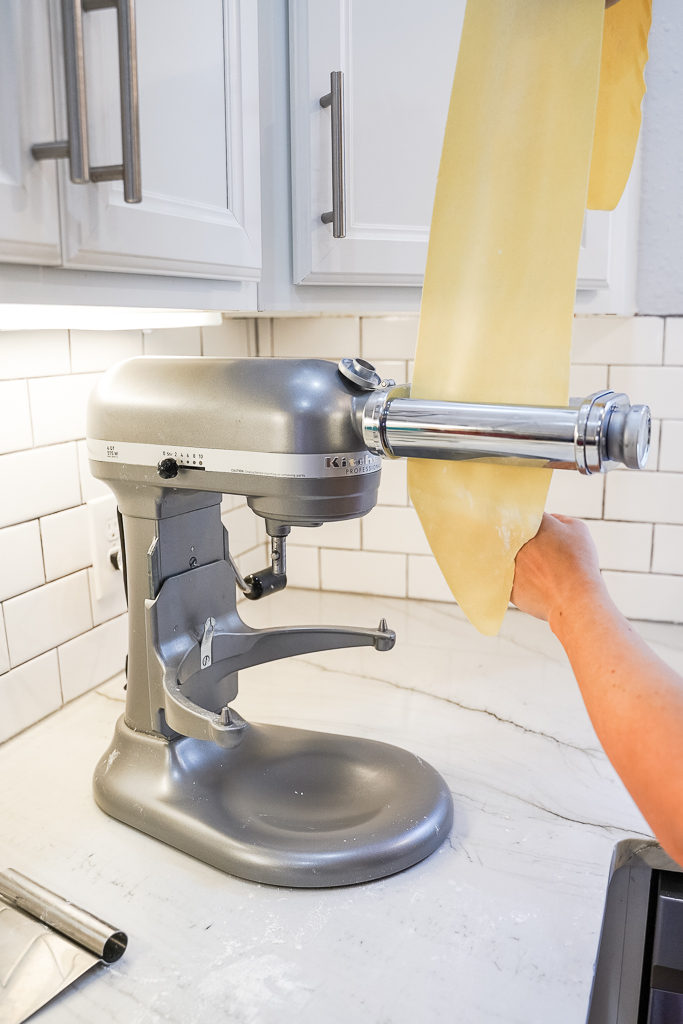
Begin with your basic pasta recipe, dividing the rested dough into quarters. Feed the dough through your pasta roller until you’ve reached a setting of 6. Note, the instructions with the KitchenAid pasta roller recommend a 4/5 for ravioli. In my experience, this results in gummy pasta that’s tough to cook. Use a 6!
Check out our foolproof pasta recipe + how we roll ours in this tutorial.
Ensure the pasta is just floured enough to keep from sticking. If the pasta is has too much flour, it will crack when you attempt to shape the filling.
The resulting pasta sheet will be quite long. For ease of manipulation, use your pasta roller to slice the sheet in half.
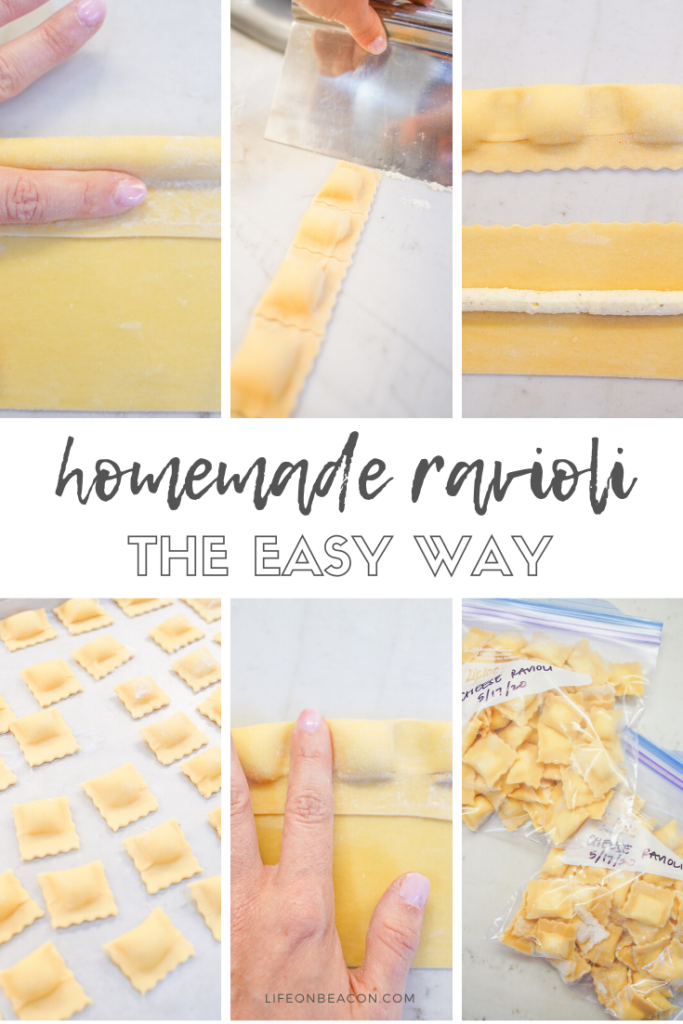
Pipe a thin line of filling the length of the sheet, about 1 1/2″ from one edge.
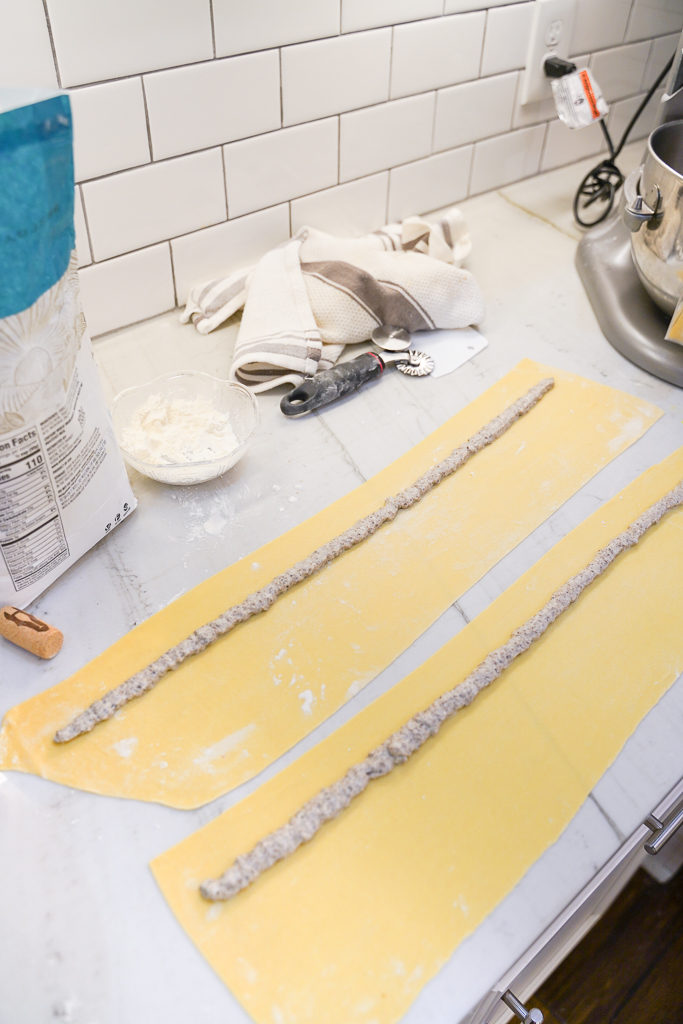
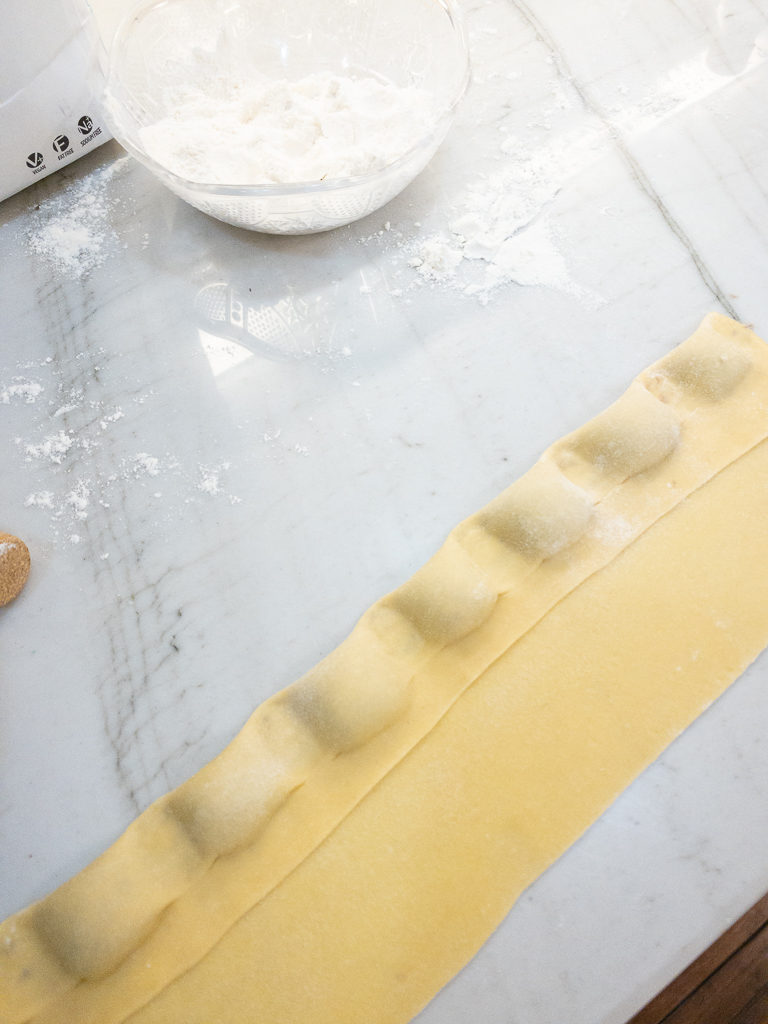
Then carefully fold the edge completely over the line you’ve piped, so the filling sits in the center of the fold, with at least 1″ overlap of plain pasta dough.

Press gently along the edge of the filling with your finger to seal the pastas together. It’s important to press down, not slide your finger along (which can cause the pasta to stretch in the wrong direction and potentially tear). Make a second pass, pushing the filling tight into the pasta.
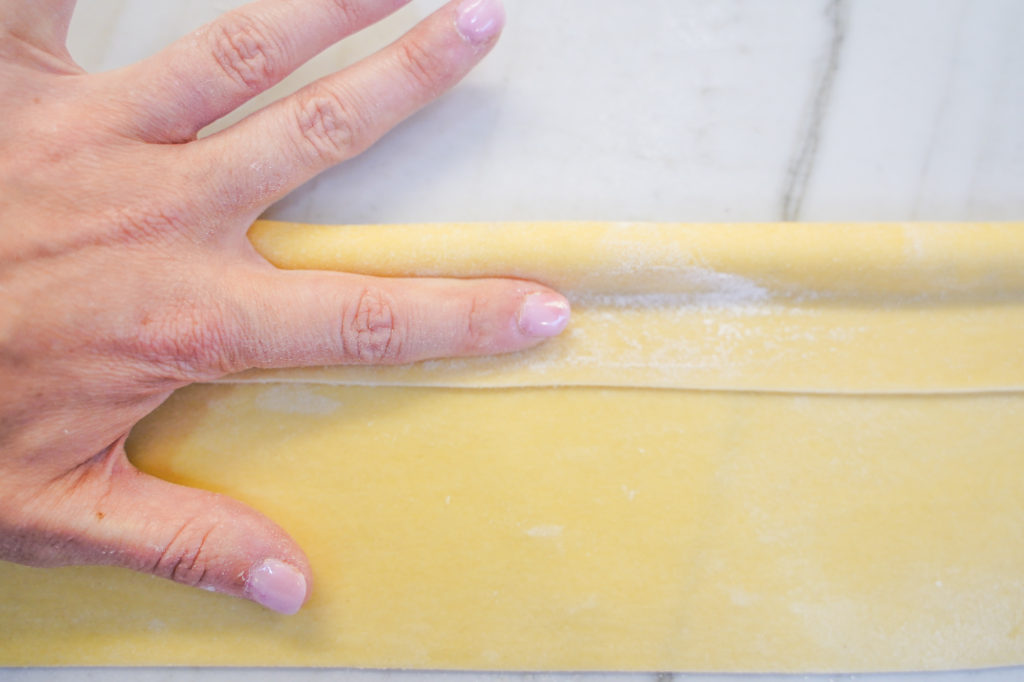
Use your fingers to seal either end of the roll. Then, holding your left index finger on the left sealed end, press your right index finger over the filling, about 3/4″ from the last indentation – or approximately the size of the filled portion of your ravioli. Press to seal the pasta. All filling should squeeze out from that section.
Do not use water to seal. The pressure from your fingers will be sufficient, if your dough is the right level of sticky (not overly floured)!
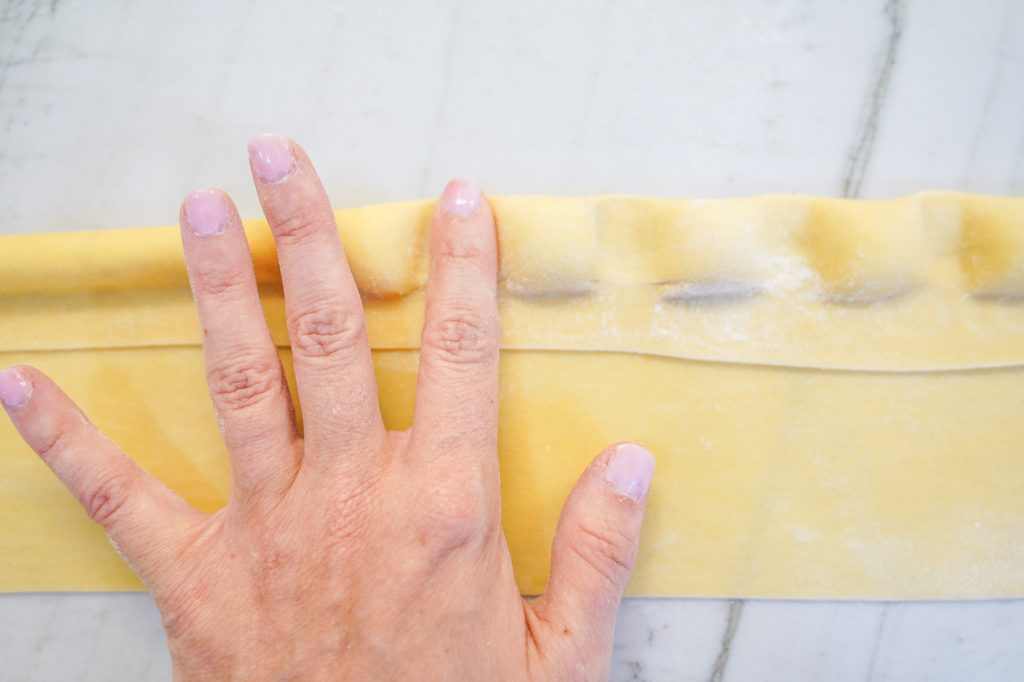
Move your left hand to the indentation you’ve just created with your right. This will hold the left edge of your next ravioli in place while you use your right to create another indentation, same as the last.
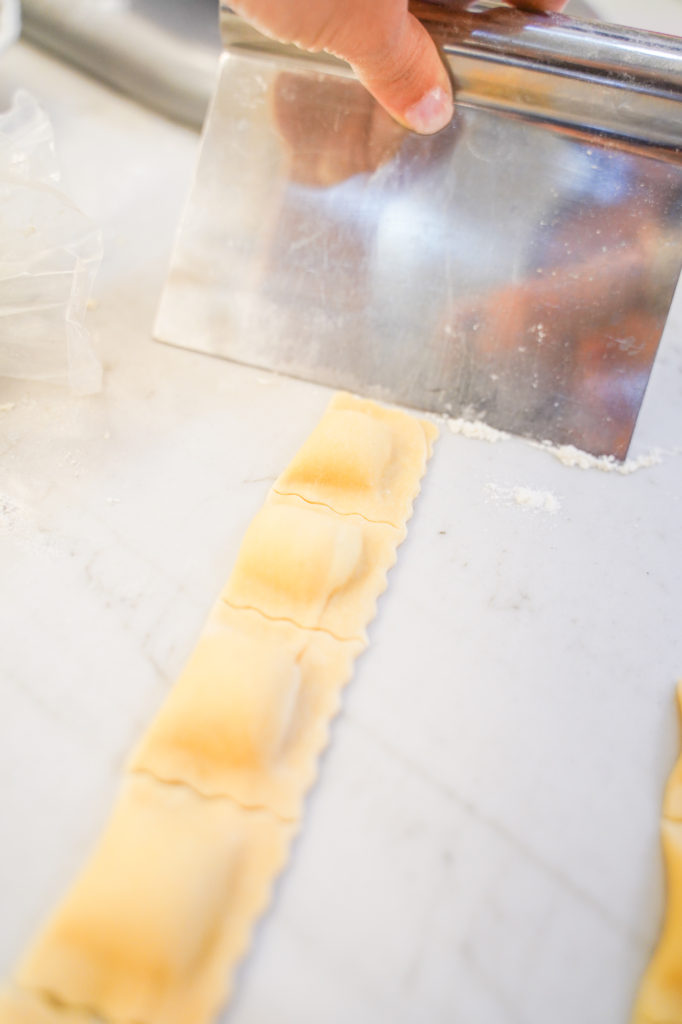
Once you’ve created all of your indentations, run your cutter along the inside of the long seam, and in the middle of each short indentation to separate your raviolis.
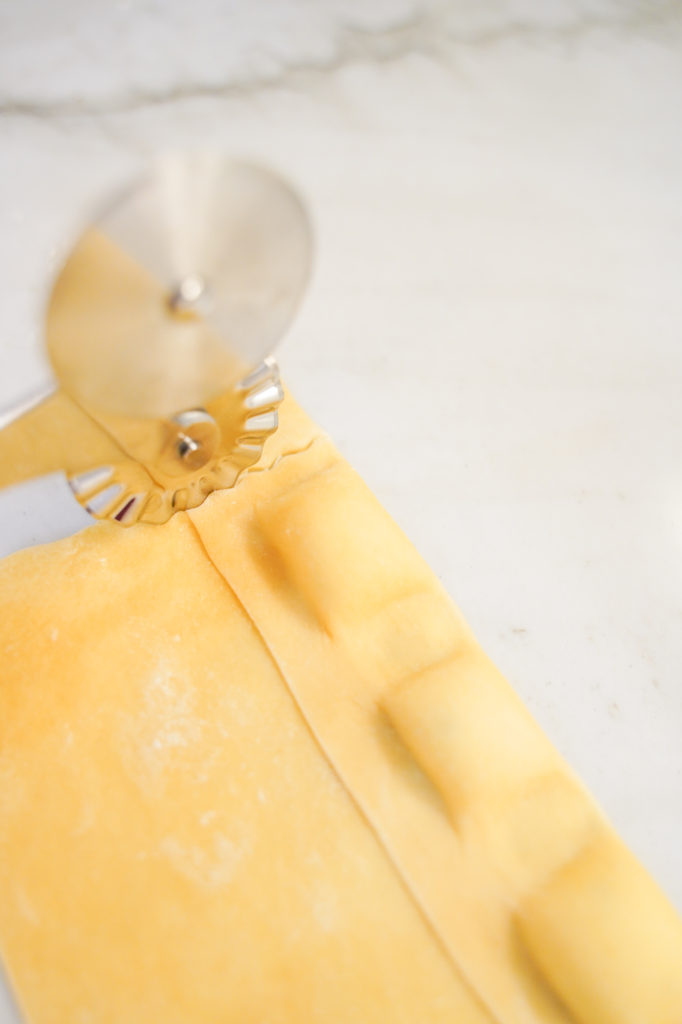
Typically, this recipe will result in two rows of ravioli per pasta sheet. Run the cutter along the bottom of the raviolis you just made, then move to a start a second row. If your remaining pasta sheet has become to narrow for this to fit, you can fold it up and re-press, then start with a shorter, but wider, sheet for the second set.
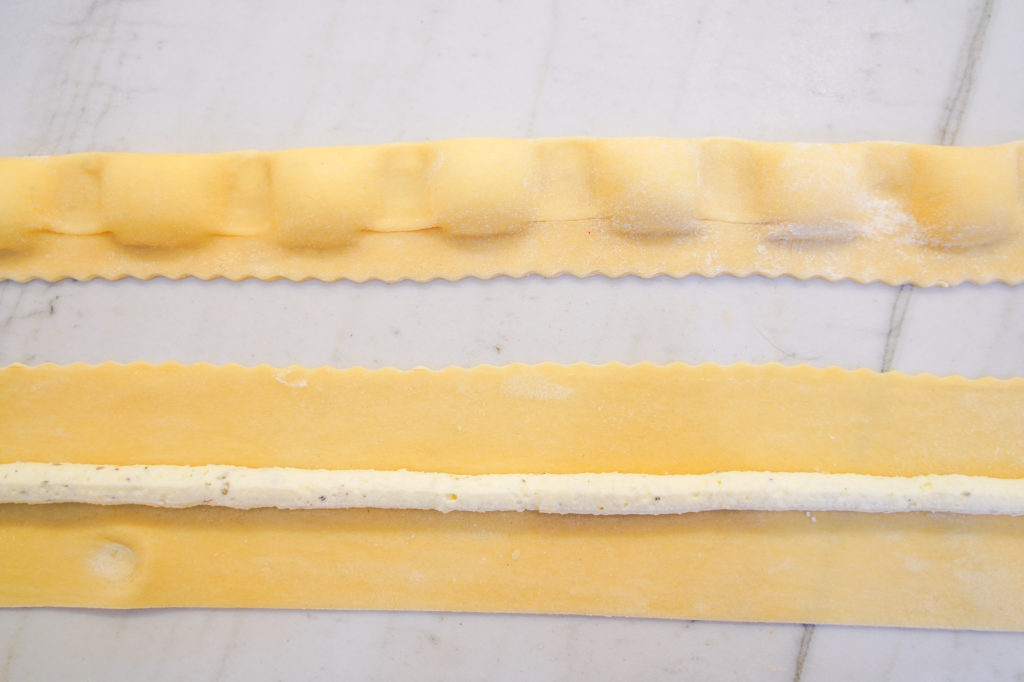
Pick up each ravioli and re-press the edges, moving them to a floured baking sheet.
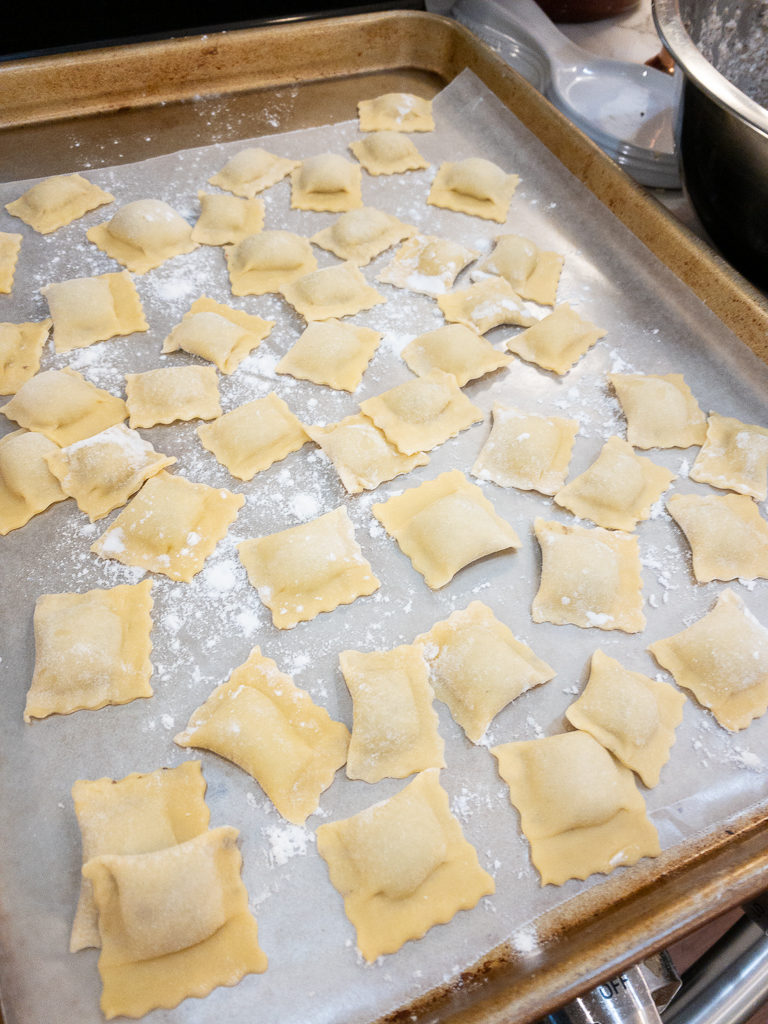
Tip: If your raviolis appear to be sticking to the work surface, use a lightly floured bench scraper to slide under the ravioli, then lightly dust the ravioli bottoms with flour to ensure no more sticking.
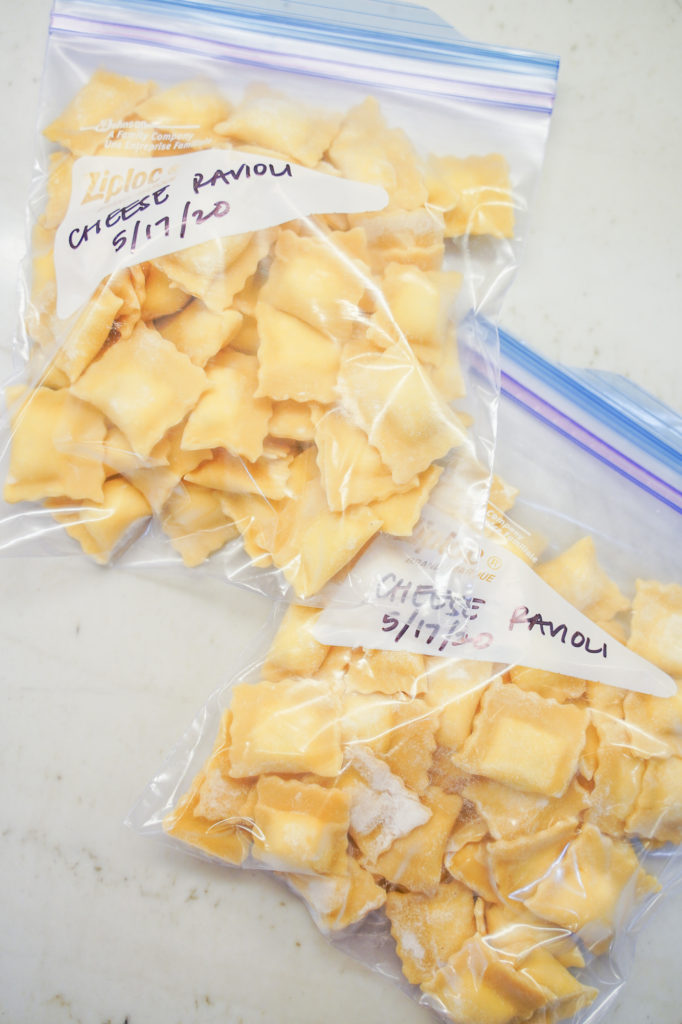
After making all of your raviolis (you’ll likely make multiple rounds, one for each pasta section), move the baking sheet to the freezer for ~30 minutes – or if time constrained, cook immediately in heavily salted water. You can either cook the raviolis once they’re frozen, or move to a freezer bag and put back in the freezer for storage.
Want more pasta?
Check out our step-by-step tutorial for making homemade pasta using a KitchenAid stand mixer, or one of our other pasta posts below.
PIN THIS
