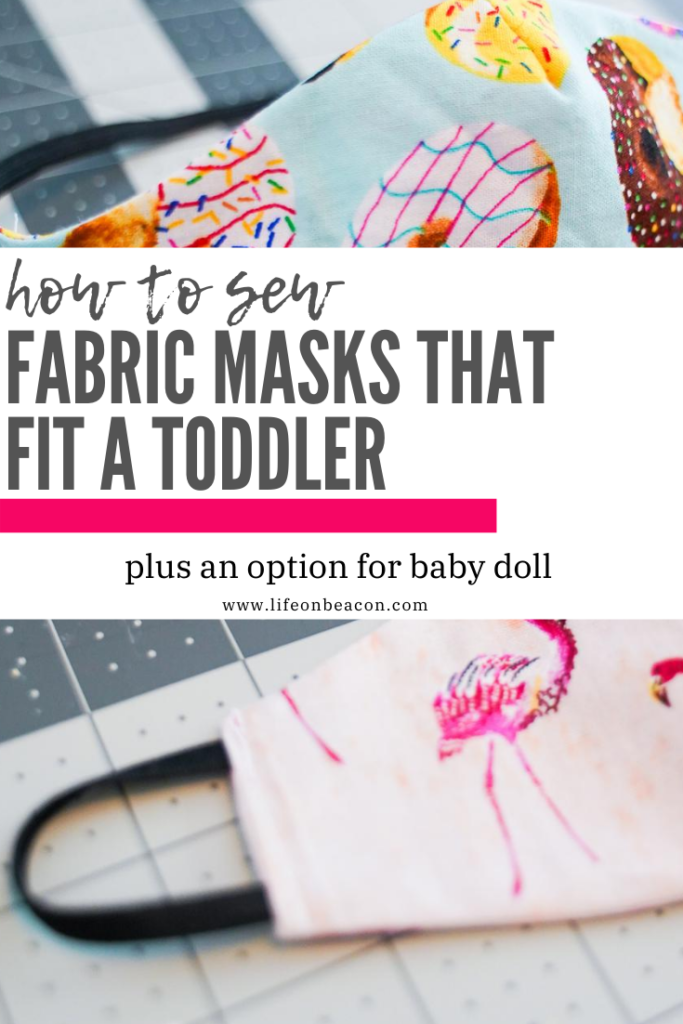
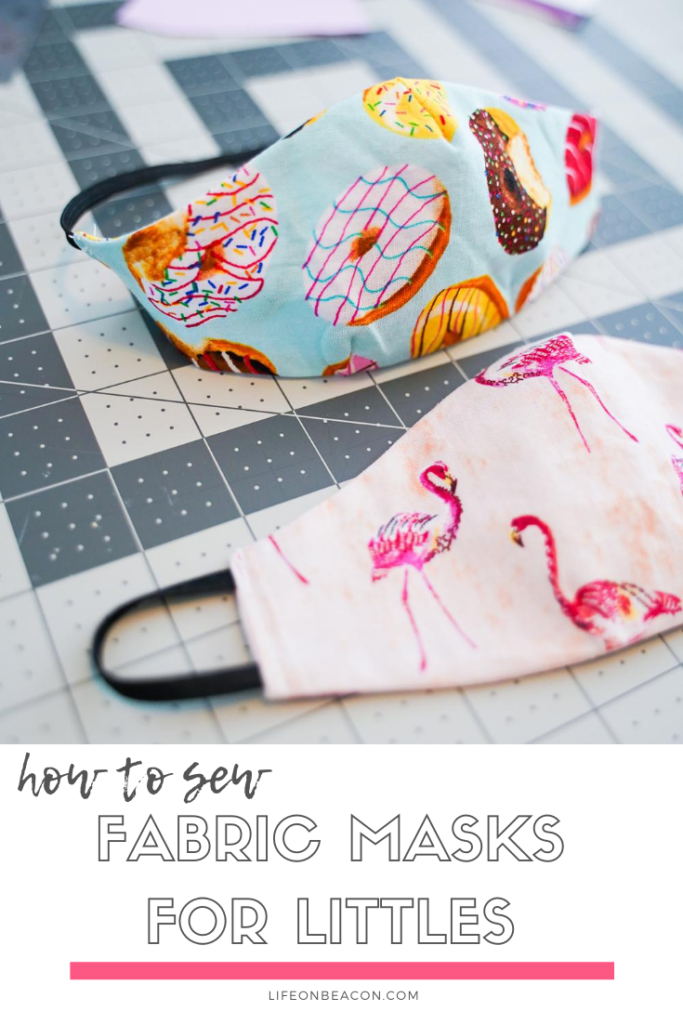
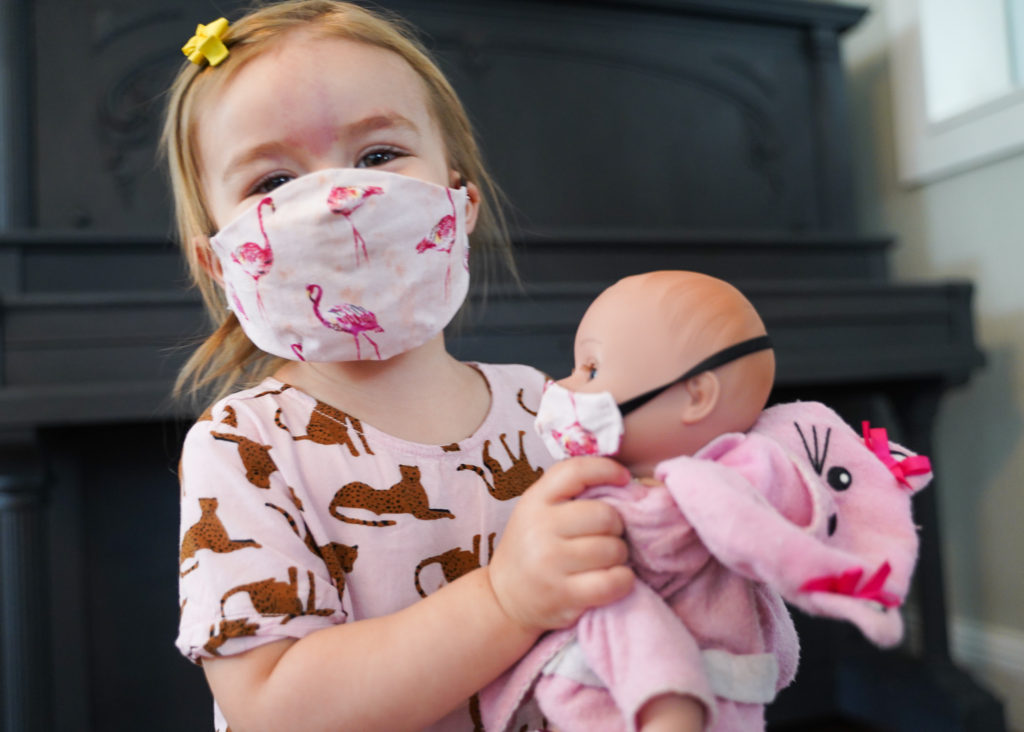
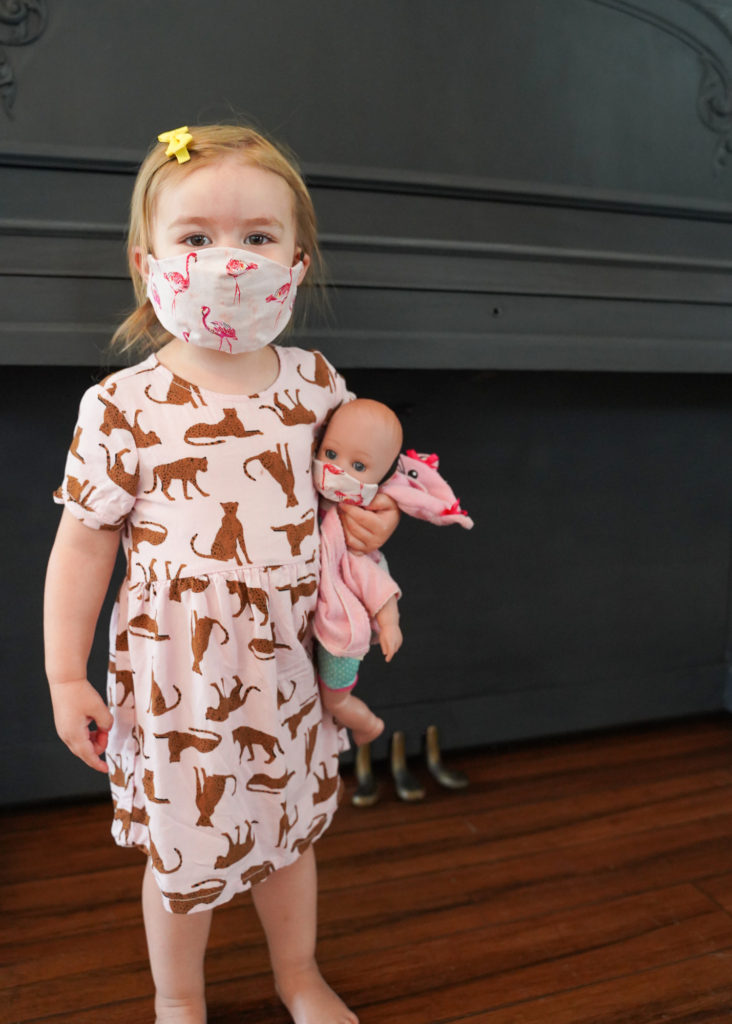
Per current state and local ordinances, children under 10 don’t have to wear face masks in public, however we’ve been adhering to the CDC recommendation that all children over 2 wear them. Finding one that fit our two year old’s face correctly (even a pattern) has been an experience, though. I turned back to square one and decided to create a flexible pattern that would fit her perfectly – and make one of baby doll as well, who comes with us on any required trips like the doctor.
MATERIALS
- Two pieces of scrap fabric or fat quarters
- Two 4 – 6” strips of elastic
- Sewing machine
Looking for fabric or elastic? We’ve rounded up our favorites here!
CREATING THE PATTERN
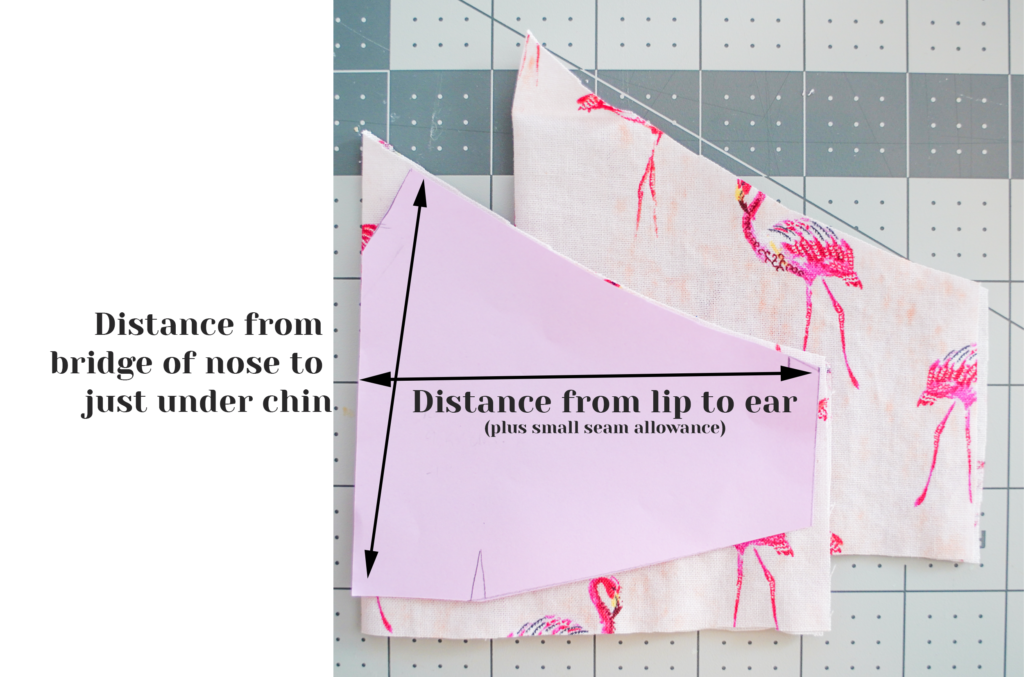
- Start with two measurements: the bridge of the nose to about 1/2″ under the chin (max height), and the center of the lip to the ear (max width). Add in a small seam allowance of 1/8 – 1/4″. Cut this from a square piece of paper, which will be used to create a pattern for 1/2 mask.
- Snip the top corner. You’ll use this to create a snug, fitted nose section.
- Create an arc cut from the top of the nose down to the ear (about half-way down your rectangle.
- Create one “v” cut about 1/2 – 1″ in from the center of your mask, along the bottom. You’ll seam here too.
- Cut an angle from that snip to the right side. This is intended to hug the jawline.
Now hold the paper up to your little’s face and check the fit. Trim as needed.
INSTRUCTIONS FOR THE MASK
- Fold your fabric in half. With the fold along the left (nose-to-chin) side of your mask, cut to match your pattern. Cut a second identical piece.
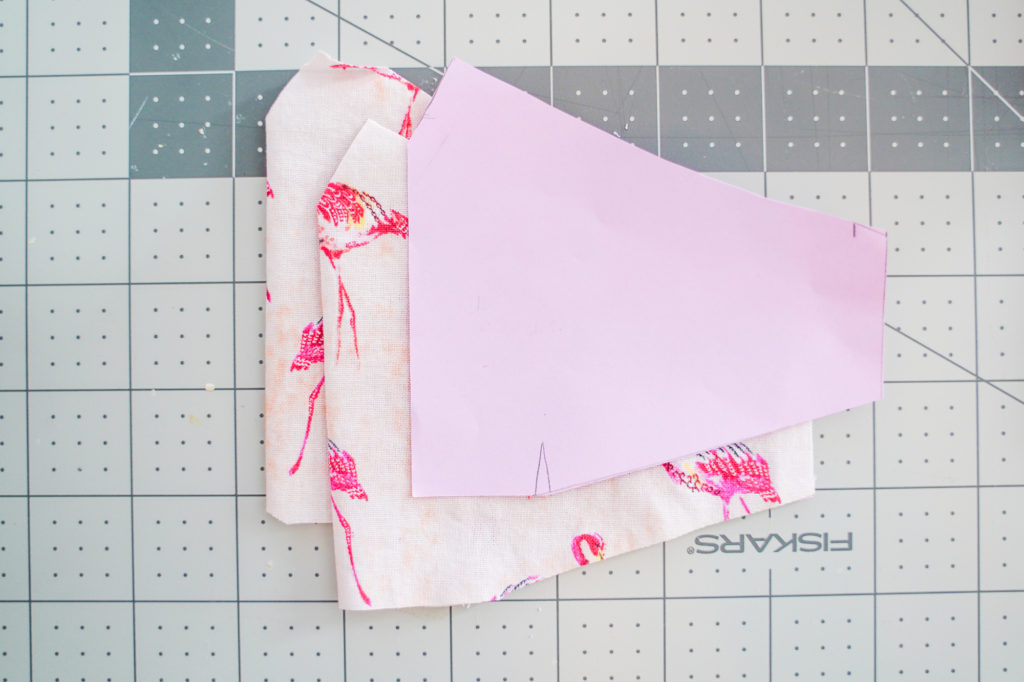
- With right sides of one piece of fabric together, sew up the notch at the nose to create a fitted seam. Repeat on your second piece.
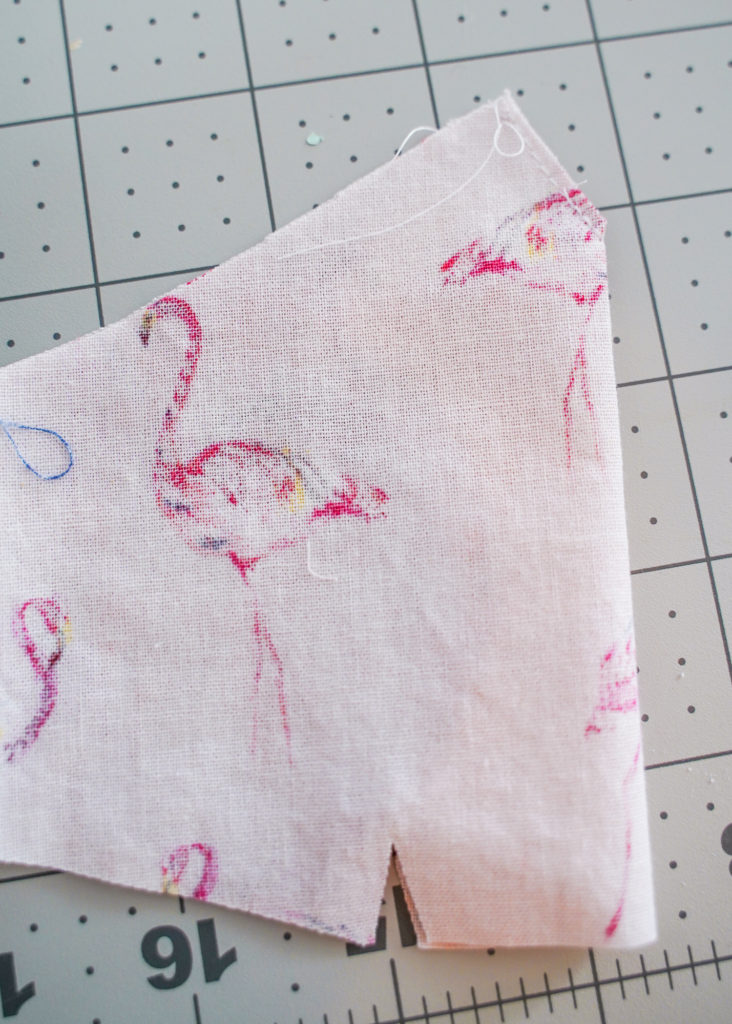
- Sew a pleat at the notches you’ve cut along the bottom, by folding them right side together and stitching up the notch with a 1/8″ seam allowance. Repeat on the second piece.
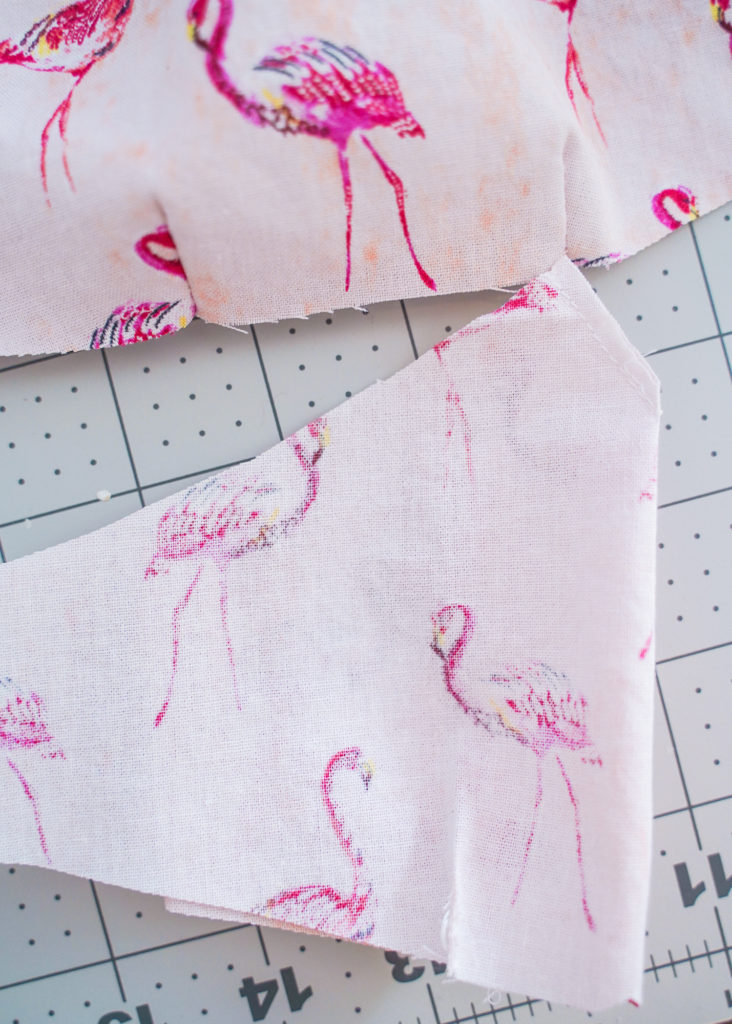
- Line up your two pieces, right sides together, using the pleats as guides to get the alignment right.
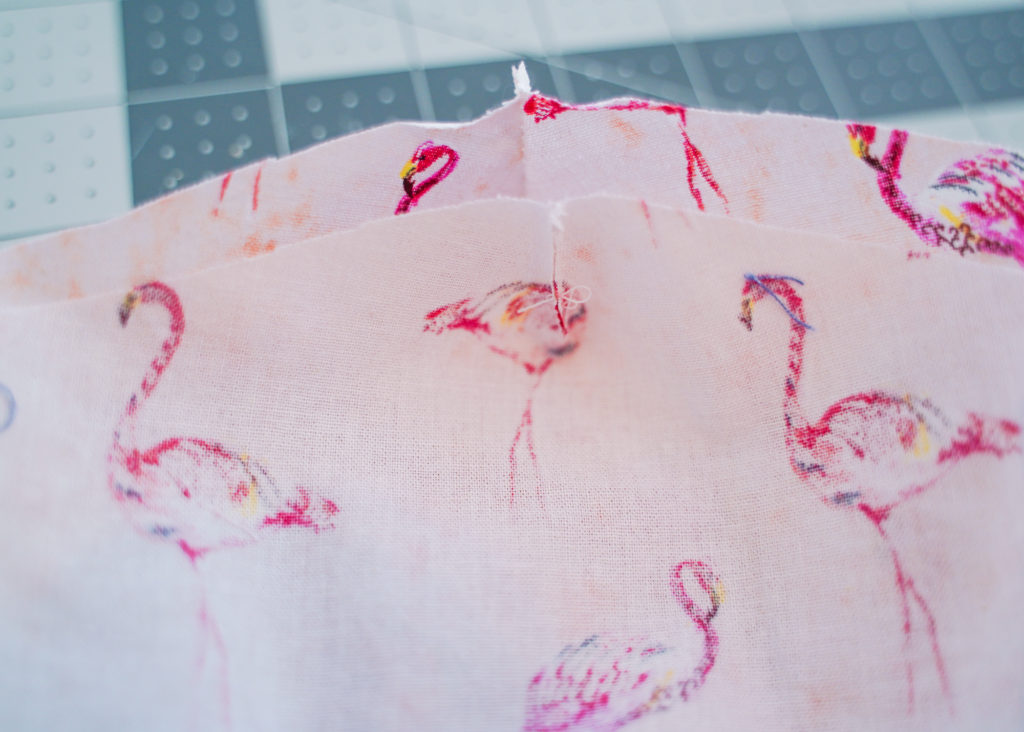
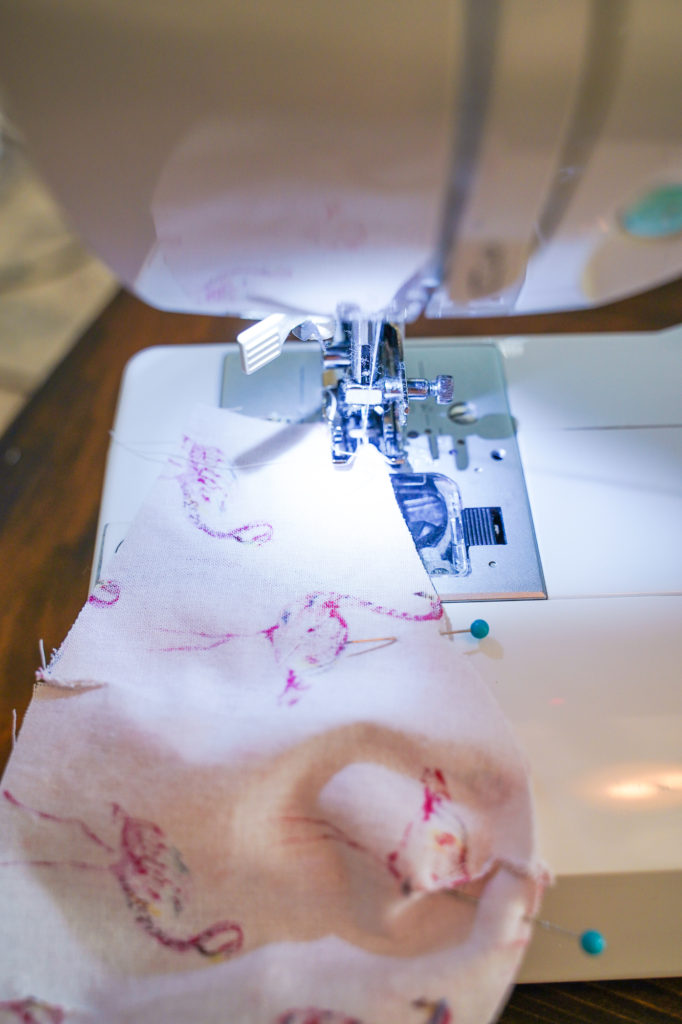
- Stitch along the top and bottom, leaving the sides open.
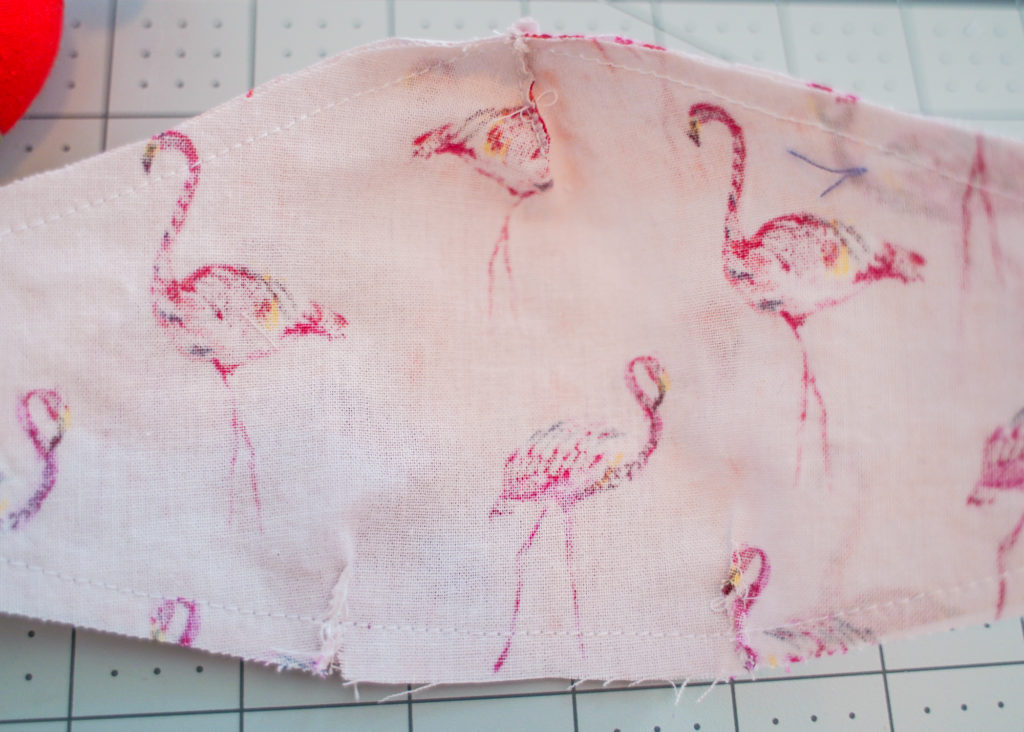
- Turn the mask right-side-out by inverting it from an open side.
- Gently fold the sides in slightly, creating a cuff. Press with an iron.
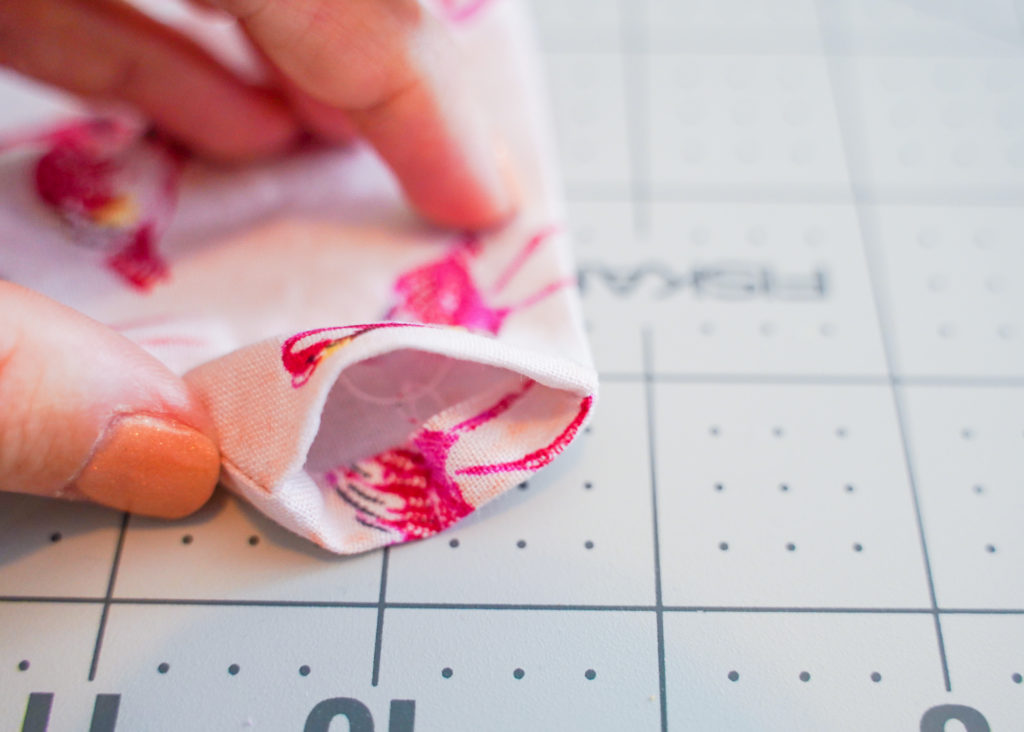
- Slide your elastic into the open side. Sew along the seam to seal, doubling back on the elastic for extra security.
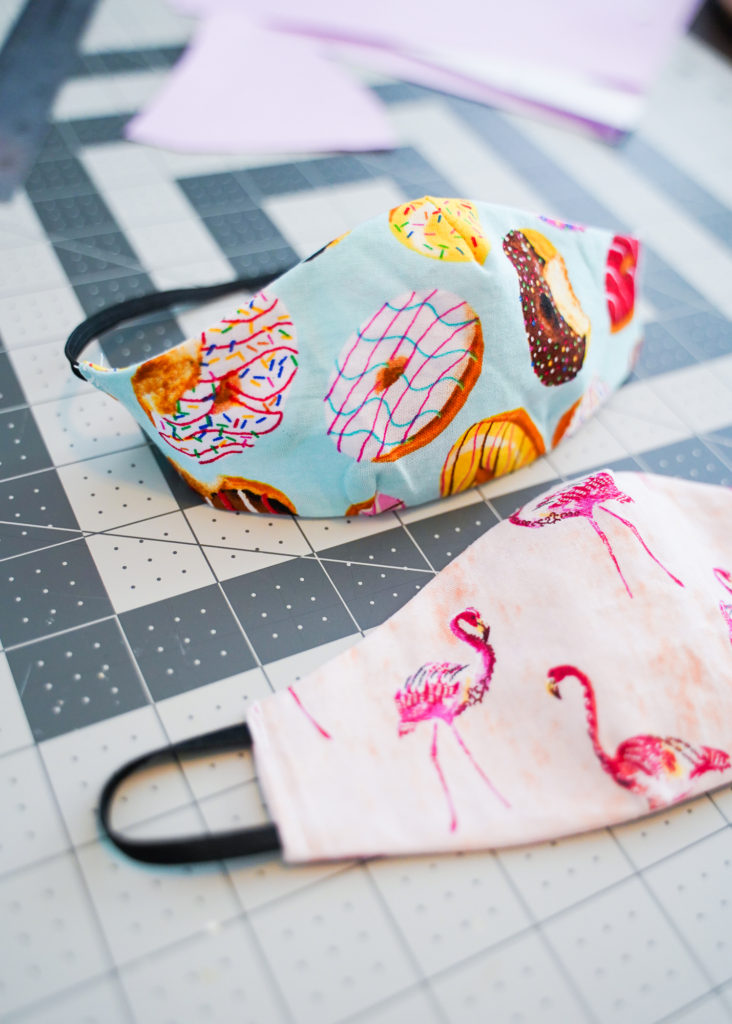
Note: Pending your preferences, you can use elastic that loops around the ears or elastic that loops around the head. We made one of each, and use them interchangeably – although the one around the ears is easier to keep in place. For the elastic around the head, make the bottom elastic smaller (to go around the neck) and the top larger (to go around the crown of the head).
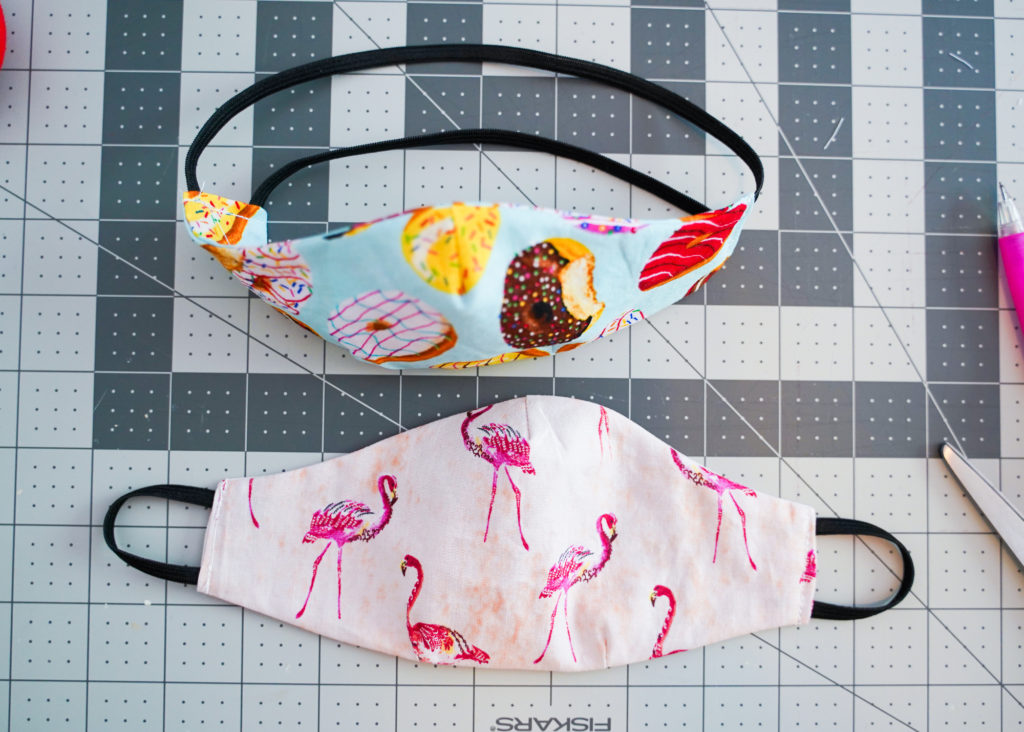
To make a mask for baby doll, follow the same instructions on a much smaller scale. Use only one piece of elastic that runs behind baby doll’s head.
Check out our other mask patterns and posts:
- Homemade Fabric Mask with Filter Pocket
- Homemade Fabric Mask with Filter Pocket – Simplified
- Where to Buy Mask Fabric + Other Supplies
PIN THIS
